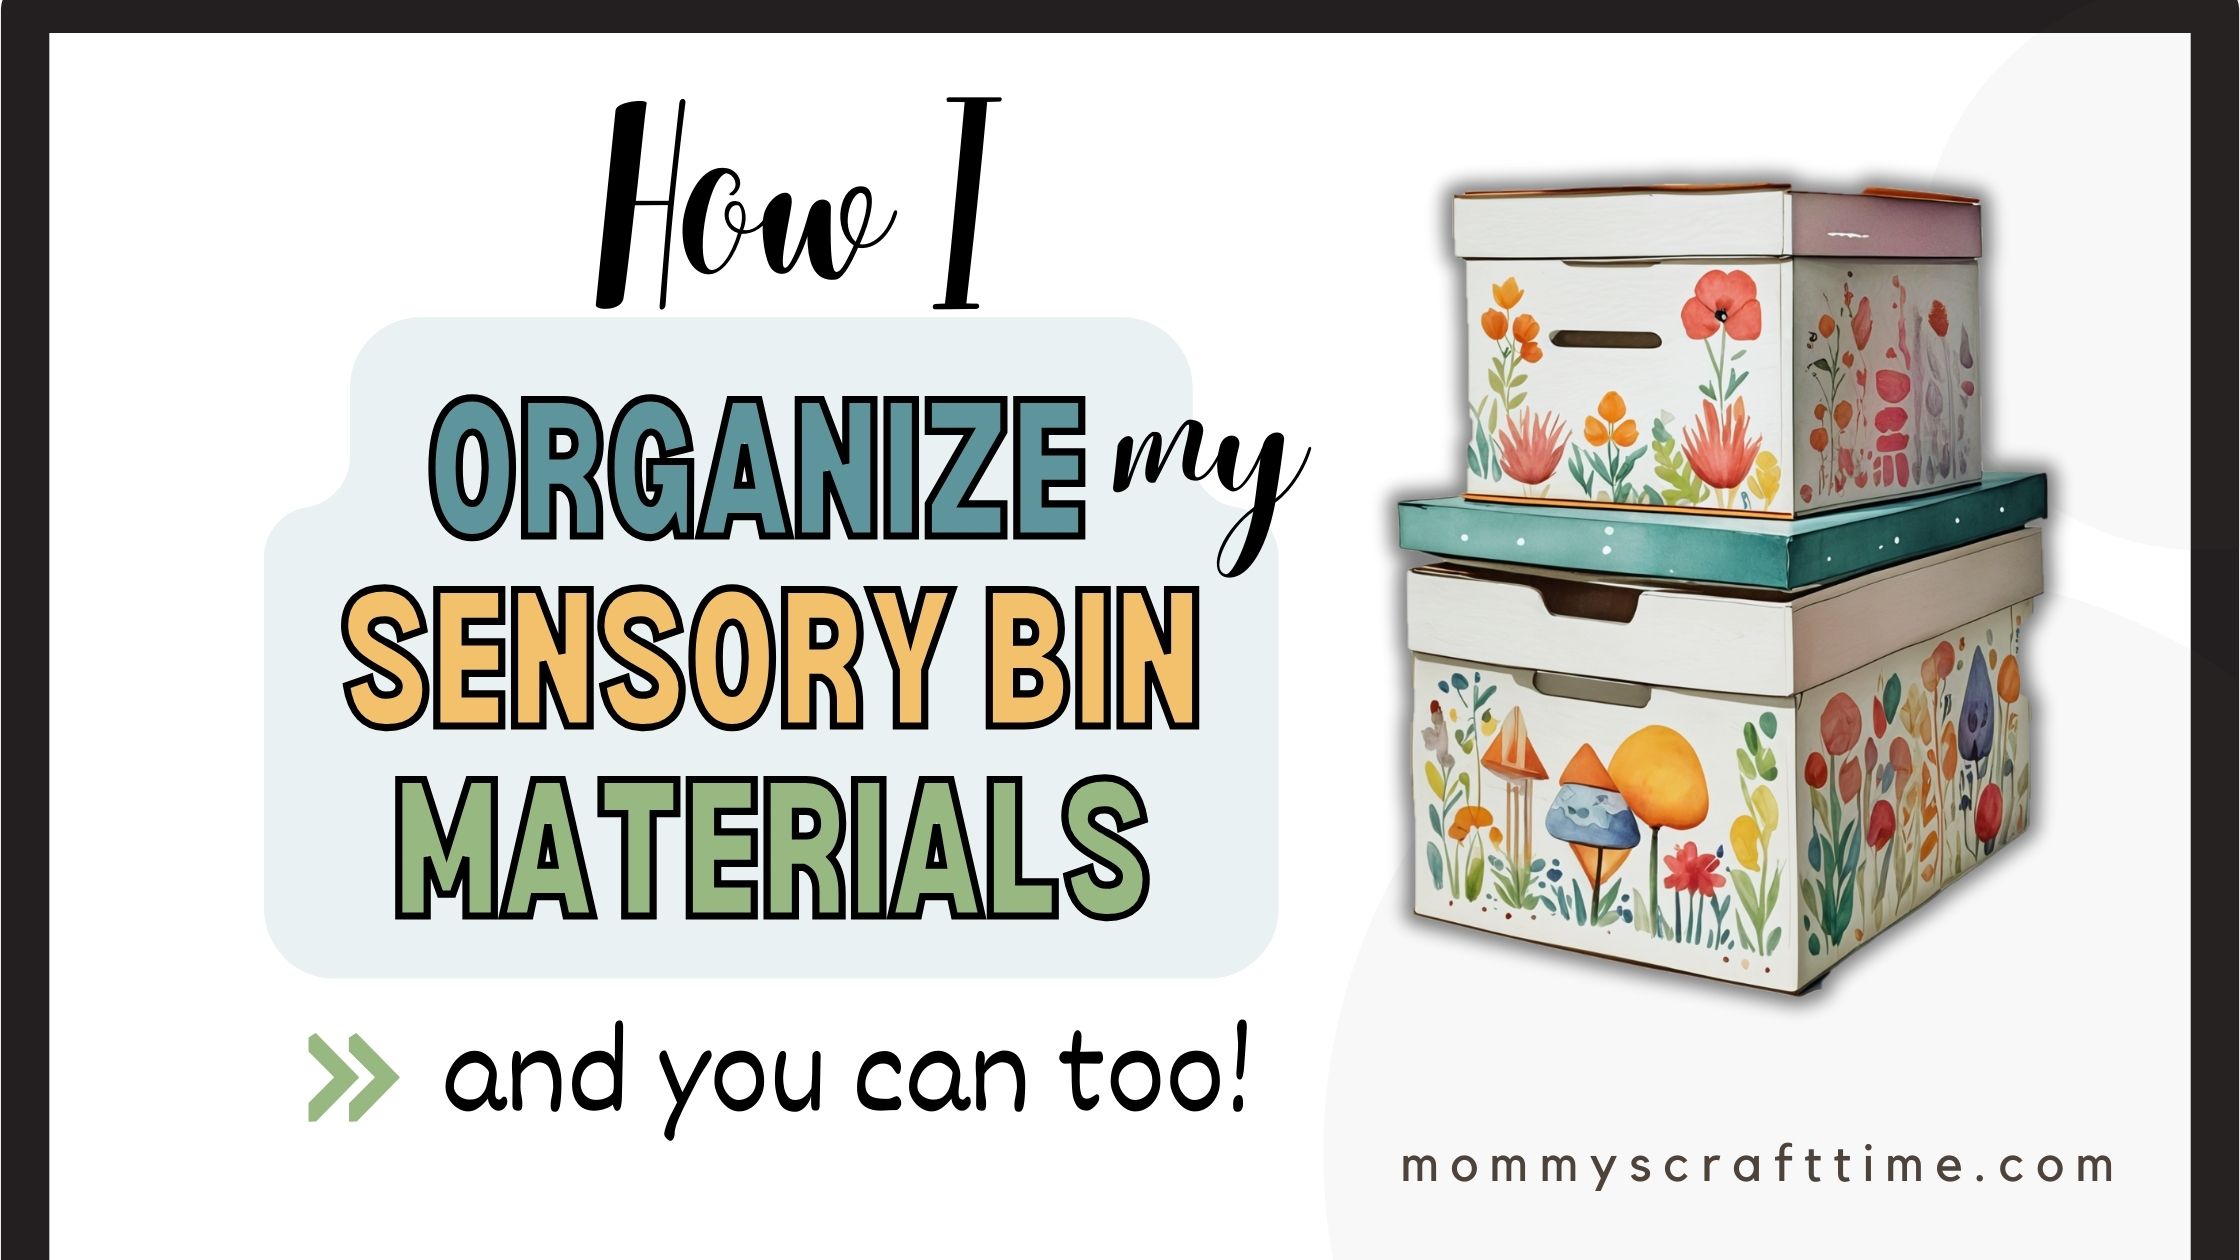
Hey there, fellow mommas and dads! Have you tried using sensory bins? They can keep your little ones entertained and learning for hours. But with all those different parts and fillers, storage can quickly become a challenge. Don’t worry—I’ve got you covered with this comprehensive guide on how to store your sensory bin materials effectively and creatively. Let’s dive in! 🎉
Why Proper Storage Matters Play?
First off, let’s talk about why it’s important to store sensory bin materials properly. Good storage solutions can:
Promote Independence: Kids can help with setup and cleanup, fostering independence. Ok maybe one year is still too young for a full cleanup, but Luca starts putting stuff in boxes now. Any help is amazing.
Save Time: Quick access to materials means more time for play.
Extend Shelf Life: Proper storage keeps materials in good condition longer.
Reduce Clutter: Keep your home tidy and organized.

Storage Solutions for Sensory Bin Materials
1. Clear Plastic Bins with Lids 🏠
Clear plastic bins are a lifesaver. They come in various sizes, stack neatly, and you can easily see what’s inside. Perfect for storing rice, beans, pasta, and other fillers.
- Tip: Label each bin with its contents using a label maker or masking tape and a marker. This makes it easy to grab the right materials for your next sensory adventure.
2. Ziplock Bags ✨
For smaller items like pom-poms, buttons, and beads, Ziplock bags are incredibly handy. They’re airtight, keeping your materials clean and contained.
- Tip: Store the bags upright in a clear bin or a drawer organizer to keep everything in place.
3. Drawer Organizers 🏠
Drawer organizers aren’t just for office supplies. Use them to keep smaller sensory items sorted and easy to find.
- Tip: Place the organizer in a shallow drawer where you can quickly access materials without rummaging through a pile of stuff.
4. Mason Jars and Baby Food Jars ✨
These jars are perfect for storing colored rice, sand, and water beads. Plus, they look pretty on a shelf!
- Tip: Add a child-proof lid to keep the contents secure if you have very young children.
5. Bookshelves with Baskets 🏠
Bookshelves with baskets can double as both storage and a display area for your sensory materials. Use baskets to hold themed items, like animal figurines or nature treasures.
- Tip: Each basket can represent a different sensory theme, making it easy to switch out bins and keep things fresh.
6. Over-the-Door Shoe Organizers ✨
Over-the-door shoe organizers are surprisingly versatile. The clear pockets are perfect for storing a variety of small sensory items.
- Tip: Hang the organizer on the back of a playroom or closet door to keep items accessible but out of sight.
7. Rolling Carts 🏠
A rolling cart can be your portable sensory station. Use it to store and transport materials from room to room.
- Tip: Assign each tier of the cart to a different type of sensory material or theme for easy organization.
8. Reusable Food Storage Containers ✨
Those leftover food containers you have lying around? They’re perfect for sensory bin storage! Use them to separate different fillers and small toys.
- Tip: Clear containers work best so you can see what’s inside at a glance. Stack them to save space.
9. Craft Organizer Boxes 🏠
Craft organizer boxes with multiple compartments are fantastic for storing tiny sensory items like beads, sequins, and buttons.
- Tip: Look for boxes with adjustable compartments so you can customize the space based on your needs.
10. Toy Storage Units ✨
Toy storage units with pull-out bins or drawers are another excellent solution. They’re sturdy, accessible, and can hold a lot of materials.
Tip: Label each bin or drawer with its contents to make it easy for your kids to help with cleanup.
Organizing by Theme 🏷️
Organizing your sensory bin materials by theme can make setup and cleanup much easier. Here are a few ideas:
- Seasonal Themes ❄️🌸🍂🎃 Have bins dedicated to different seasons or holidays. For example, a Christmas-themed bin can have red and green rice, holiday cookie cutters, and mini ornaments. Check out my post on Christmas Sensory Bottles for some festive inspiration!
- Nature Themes 🌿🐞 Items like rocks, leaves, and pinecones can be stored together. For more ideas, take a look at my Nature Sensory Bottle Ideas.
- Color Themes 🌈 Organize materials by color for a fun and visually appealing setup. This is especially great for teaching colors to toddlers.
- Texture Themes 🌾 Group items by texture, such as soft, rough, or smooth. This enhances the sensory experience for your little ones.
Keeping Sensory Bins Clean 🧼
One of the most common questions I get is how to keep sensory bins clean. Here are some tips:
- Use Washable Materials 🧴 Opt for materials that can be easily cleaned. For example, plastic toys and containers can be rinsed off if they get dirty.
- Store in a Dry Place ☀️ Keep your sensory materials in a dry area to prevent mold and mildew. Avoid damp basements or bathrooms.
- Regular Cleaning Routine 🧽 Make it a habit to clean your sensory bins and materials regularly. For example, if you’re using rice or pasta, you can sift through it to remove any debris.
- Use Liners 📋 Line your bins with plastic or cloth liners that can be removed and washed. This makes cleanup much easier!
Labeling and Inventory 🏷️
Keeping an inventory of your sensory bin materials can save you time and money. Here’s how to do it:
- Label Everything 🏷️ Use labels on all your containers. This makes it easy to find what you need and keep everything in its place.
- Create an Inventory List 📝 Keep a list of what you have on hand. This can be as simple as a spreadsheet or a notebook. Include quantities and where items are stored.
- Rotate Materials 🔄 Regularly rotate your sensory bin materials to keep things fresh and exciting for your little ones. This also helps you see what needs to be restocked.
Storing Sensory Bottles 🌟
Don’t forget about your sensory bottles! These need a good storage solution too. For some amazing sensory bottle ideas, check out my posts on Layered Sensory Bottles, Sensory Bottle Ideas, and Glow in the Dark Sensory Bottles. Here are a few storage tips:
- Display Shelves 📚 Use display shelves to keep your sensory bottles visible and easily accessible.
- Bins and Baskets 🧺 Store them in bins or baskets, grouped by theme or type.
- Cabinets with Glass Doors 🚪 These keep the bottles safe while still allowing them to be seen.
Conclusion
Proper storage for your sensory bin materials is crucial for maintaining an organized, efficient, and enjoyable playtime experience for both you and your child. By using clear containers, label makers, and smart shelving solutions, you can easily keep track of your items and ensure they are always ready for use. Rotating materials and keeping them clean will help maintain a hygienic and engaging environment.
Pin it for Later

What household items have you used to create sensory bins? I’d love to hear your creative ideas and experiences in the comments below! If you found these tips helpful, please share this post with your friends and family. Don’t forget to pin this post on Pinterest for easy reference and future inspiration. Happy sensory playing! 🎉📌
There you have it! With these storage tips and ideas, your sensory bin materials will be organized, clean, and ready for endless hours of fun and learning. 🌟🏠✨


Leave a Reply