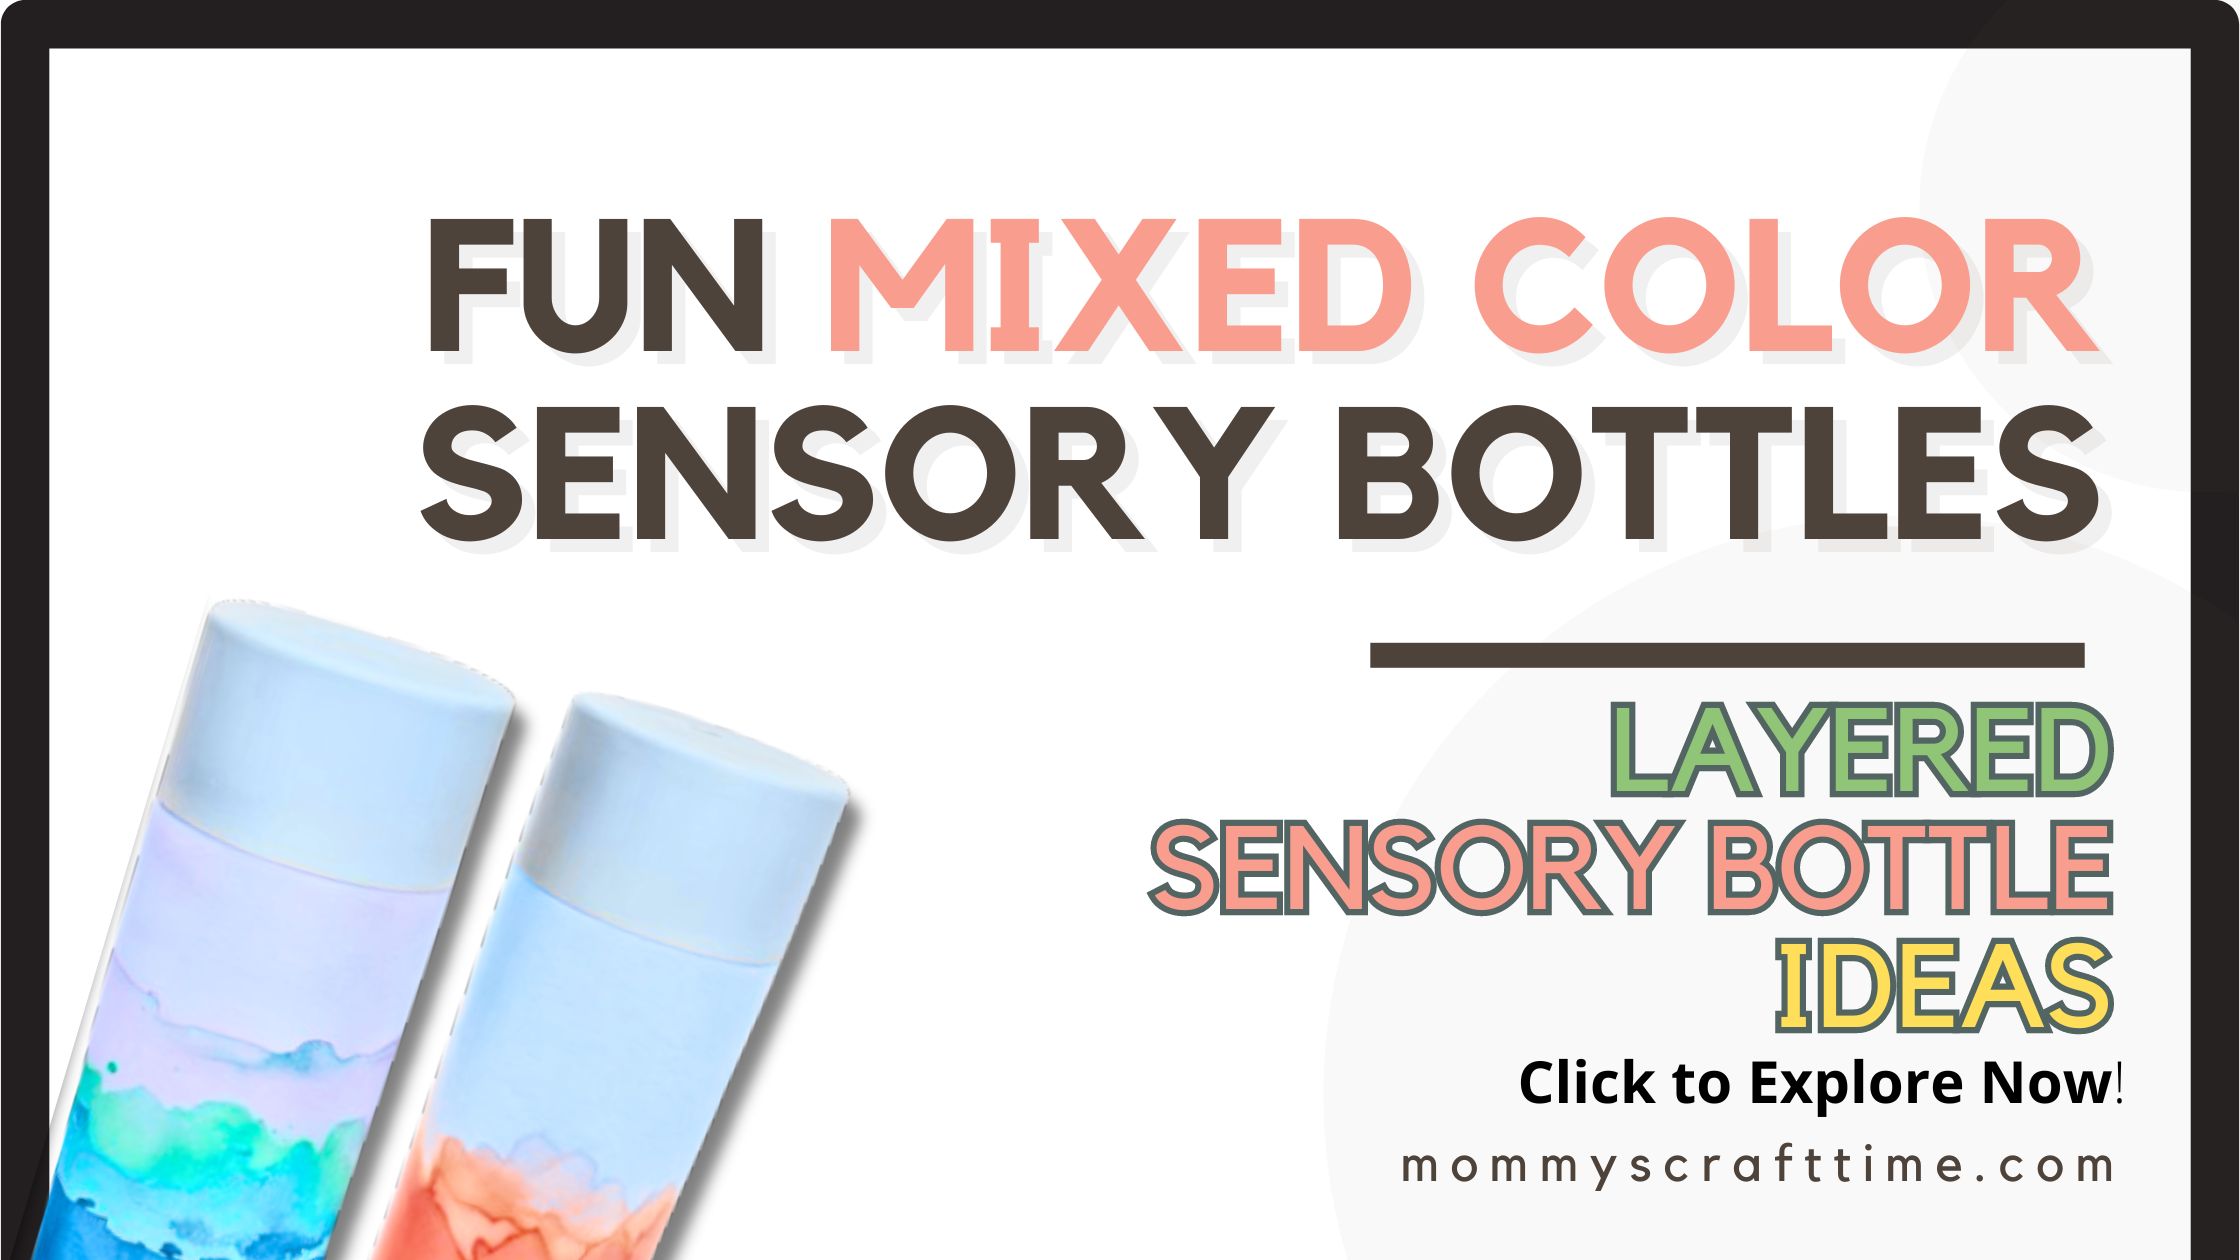
Today, I’ve got just the thing for you: layered color-mixing sensory bottles! I saw them while working on 13 easy and fun sensory bottle ideas. Do you remember lava lamps? Is that still a thing? Anyway, I found them and immediately decided to test them out.
Here is a complete guide to making layered color mixing sensory bottles.

What Liquid to Use in DIY Sensory Bottles?
This website contains affiliate links, meaning I may earn a small commission if you click and make a purchase, at no extra cost to you. Thank you for supporting my content! Read more in our Disclosure.
Before we get to the fun part, let’s talk about the liquid you’ll need. The type of liquid you use can affect the visual appeal and the behavior of the materials inside the bottle. Here are a few options:
- Glycerin: A clear, thick liquid that enhances the visual effect and slows down the movement of the contents.
- Water: The simplest and most readily available option. Great for basic color mixing.
- Clear Glue: Adds a bit of viscosity, making the contents move slower and giving the bottle a more calming effect.
- Baby Oil or Mineral Oil: Creates a distinct separation between different liquids and works well for creating lava lamp effects.
- Corn Syrup: Adds thickness, making it ideal for a slower, more mesmerizing movement.
Creating Multi-Layered Sensory Bottles with Water and Oil 🧪✨
Alright, let’s add a little science magic to our sensory bottle collection. Let’s start with a stunning two-layered bottle! It’s a sneaky way to introduce some basic principles of chemistry. Ready? Let’s get started on how to make colored sensory bottles:

1. Two-Layered Sensory Bottle
Materials Needed:
- Clear plastic bottle with a tight-fitting lid (I use smoothie bottles; I heard VOSS bottles are popular, which I don’t think we have in Germany).
- Water
- Baby oil or any cooking oil will do (though cooking oil turns out yellowish, as you’ll see below)
- Food coloring
- Oil-based color
- Glitter or small sequins (optional, for added sparkle)
- Funnel
- Hot glue gun or super glue (to seal the lid)


If you wonder, does food coloring mix with oil? – In short, nope.
🧠 A Quick Science Sidebar: Why Oil and Water Don’t Mix
Think of oil and water like puzzle pieces from different sets. Water is polar, oil is non-polar. Translation? They just don’t blend. Add water-based food coloring to oil and you’ll see little droplets floating around. Fun, but no mixy-mixy unless you throw in an emulsifier (like soap —not needed here!).
- Polar and Non-Polar Molecules: Food coloring is polar, meaning it dissolves in water, which is also polar. Oil, on the other hand, is non-polar, meaning it does not mix with polar substances like water or food coloring.
- Separation of Layers: When you add food coloring to oil, the color forms tiny droplets that float in the oil. These droplets remain separate because the polar molecules of the food coloring do not interact with the non-polar molecules of the oil.
- Emulsifiers Needed for Mixing: To mix oil and water-based substances, you would need an emulsifier. Common emulsifiers include substances like soap or lecithin.
For sensory bottles, this property can be used to create interesting visual effects where the food coloring forms droplets within the oil, adding to the sensory experience for children.
Steps to Create Your Two-Layered Sensory Bottle:
Here is a video on how I made this colorful sensory bottle for spring:
1. Prepare Your Bottle:
- Start with a clean, clear plastic bottle. Make sure it’s completely dry before you begin.
2. Add the First Layer (Water):
- Fill about half of the bottle with water. You can use tap water for this part. If you want a more vibrant color, you can use distilled water.
- Add a few drops of your first food coloring to the water. Use a funnel to avoid spills. Stir or shake gently to mix the color evenly. (As you see above I didn’t have a color at hand)

3. Add Color to the Oil:
- This is where the real magic happens! Add a few drops of your second food coloring to the oil. It’s best to use oil-based food coloring, but if you don’t have any, regular food coloring will work; it just won’t mix with the oil and will create little beads of color instead, which can be equally mesmerizing.
- Or you use another oil-based color. (Tried this with another sensory bottle and the color drops looked pretty nice!)
4. Add the Second Layer of the Water and Oil Sensory Bottle (Oil):
- Slowly pour your colored baby oil or mineral oil into the bottle using a funnel. Fill it almost to the top, but leave some space. The oil will sit on top of the water because oil is less dense than water.
- Be careful not to shake the bottle too much at this stage, as you want the layers to remain distinct.
5. (Optional )Add Glitter For a Oil and Glitter Bottle:
- For extra sparkle, add a pinch of glitter to the bottle. This will add a delightful shimmering effect as the layers move and interact.
6. Seal the Bottle:
- Use a hot glue gun or superglue to seal the lid tightly. Or use electricians tape like me.
7. Enjoy the Magic:
- Now, give the bottle a gentle tilt back and forth. Watch as the water and oil layers remain separate, with the food coloring in each layer creating a beautiful, two-toned effect.
You can also check out my 2 layered ocean bottle on the 13 sensory bottle ideas post. PS.: Take your bottles to the next level with these Glow in the Dark Sensory Bottles.
Why Don’t Oil and Water Mix?
Alright, here is an explanation for your little scientists! Imagine you have a bottle with two different liquids: water and oil. When you mix them, they don’t become friends. Instead, they like to stay separate, and here’s why:
The Big Idea
Oil and water don’t mix because they are different. Think of it as if you have different types of toys that don’t go together, like trying to put a puzzle piece into a Lego block. It just doesn’t fit!
The Science in Simple Words For Preschoolers:
Different Structures: Water and oil have different “structures,” kind of like how your Lego blocks and puzzle pieces have different shapes. Because they are so different, they don’t mix.
Water is Heavy: Water is like a heavy toy. When you pour it into a bottle, it likes to stay at the bottom.
Oil is Light: Oil is like a light toy. It floats on top of the water because it’s lighter.
Are you ready to take your sensory bottle game to the next level? NEXT, I am challenging myself to do 7 Layers. Here is my plan:
7 Layered Sensory Bottle
Layer 1: Water with Food Coloring
Layer 2: Clear Glue with Glitter
Layer 3: Vegetable Oil with Food Coloring
Layer 4: Corn Syrup
Layer 5: Dish Soap
Layer 6: Baby Oil
Layer 7: Rubbing Alcohol
Let’s see if this works! I’ll keep you posted and upload pictures. I hope you had fun with our layered sensory bottles! For even more sensory fun, check out DIY Sensory Activities for Toddlers. Once you’re done, try these fun Sensory Bottle Games!
Why Color Mixing Sensory Bottles?
Sensory bottles are gold for toddlers: they soothe, educate, and stimulate without screens. Plus if you wonder how to teach my toddler colors. I think they work well, because they are:
- Super cheap to make (yes please!)
- Hands-on and mess-free
- Great for teaching color theory & science
- Customizable for different moods or seasons

Pin it for Later

📌 Pin now, read later! Save our guide on Pinterest and share the joy of sensory play with your friends and family. Click the link below and start crafting unforgettable memories with your little ones.
Can You Put Paint in a Bottle?
You might be wondering if you can use paint instead of food coloring or liquid watercolors. The answer is yes, but with a few caveats:
- Acrylic Paint: Can be used, but it’s thicker and may require more shaking to mix thoroughly. It also might not blend as smoothly as food coloring.
- Tempera Paint: A better option for sensory bottles, as it’s water-based and mixes well with water.
- Washable Paint: Ideal for sensory bottles, especially if you’re worried about spills. However, it can sometimes create a cloudy effect in the water.
If you decide to use paint, just make sure to dilute it with a bit of water first to help it mix better in the bottle. Creating seven-layered sensory bottles is not just a fun and creative project; it’s an educational experience that can teach your toddler about density, color mixing, and the beauty of layers. So grab your materials, get crafty, and enjoy the magic of these mesmerizing bottles! 🌈🧪✨
🧠 More Sensory Bottle Ideas You’ll Love:
- ✨ Magical Sensory Bottles for Toddlers – A sparkly, soothing activity perfect for curious little minds.
- 🎶 DIY Sound Sensory Bottles – Shake, rattle, and make your own instruments <3.
- 🍁 19 Nature Sensory Bottles You Can Make Today – Bring the outdoors in with these calming, earthy DIY bottles.
- 🎄 Christmas Sensory Bottles – Holiday magic in a bottle! These festive sensory crafts are perfect for the season.
- 🧚 Fairy Tale Sensory Bottles – Spark imagination and storytelling with glittery, dreamy fairy-tale themes.
- 🕹️ Sensory Bottle Games – Turn bottles into interactive play! Perfect for quiet time, travel, or therapy.
- 🌟 Glow-in-the-Dark Sensory Bottle Ideas – Light up playtime with bottles that glow, sparkle, and amaze in the dark!





Leave a Reply