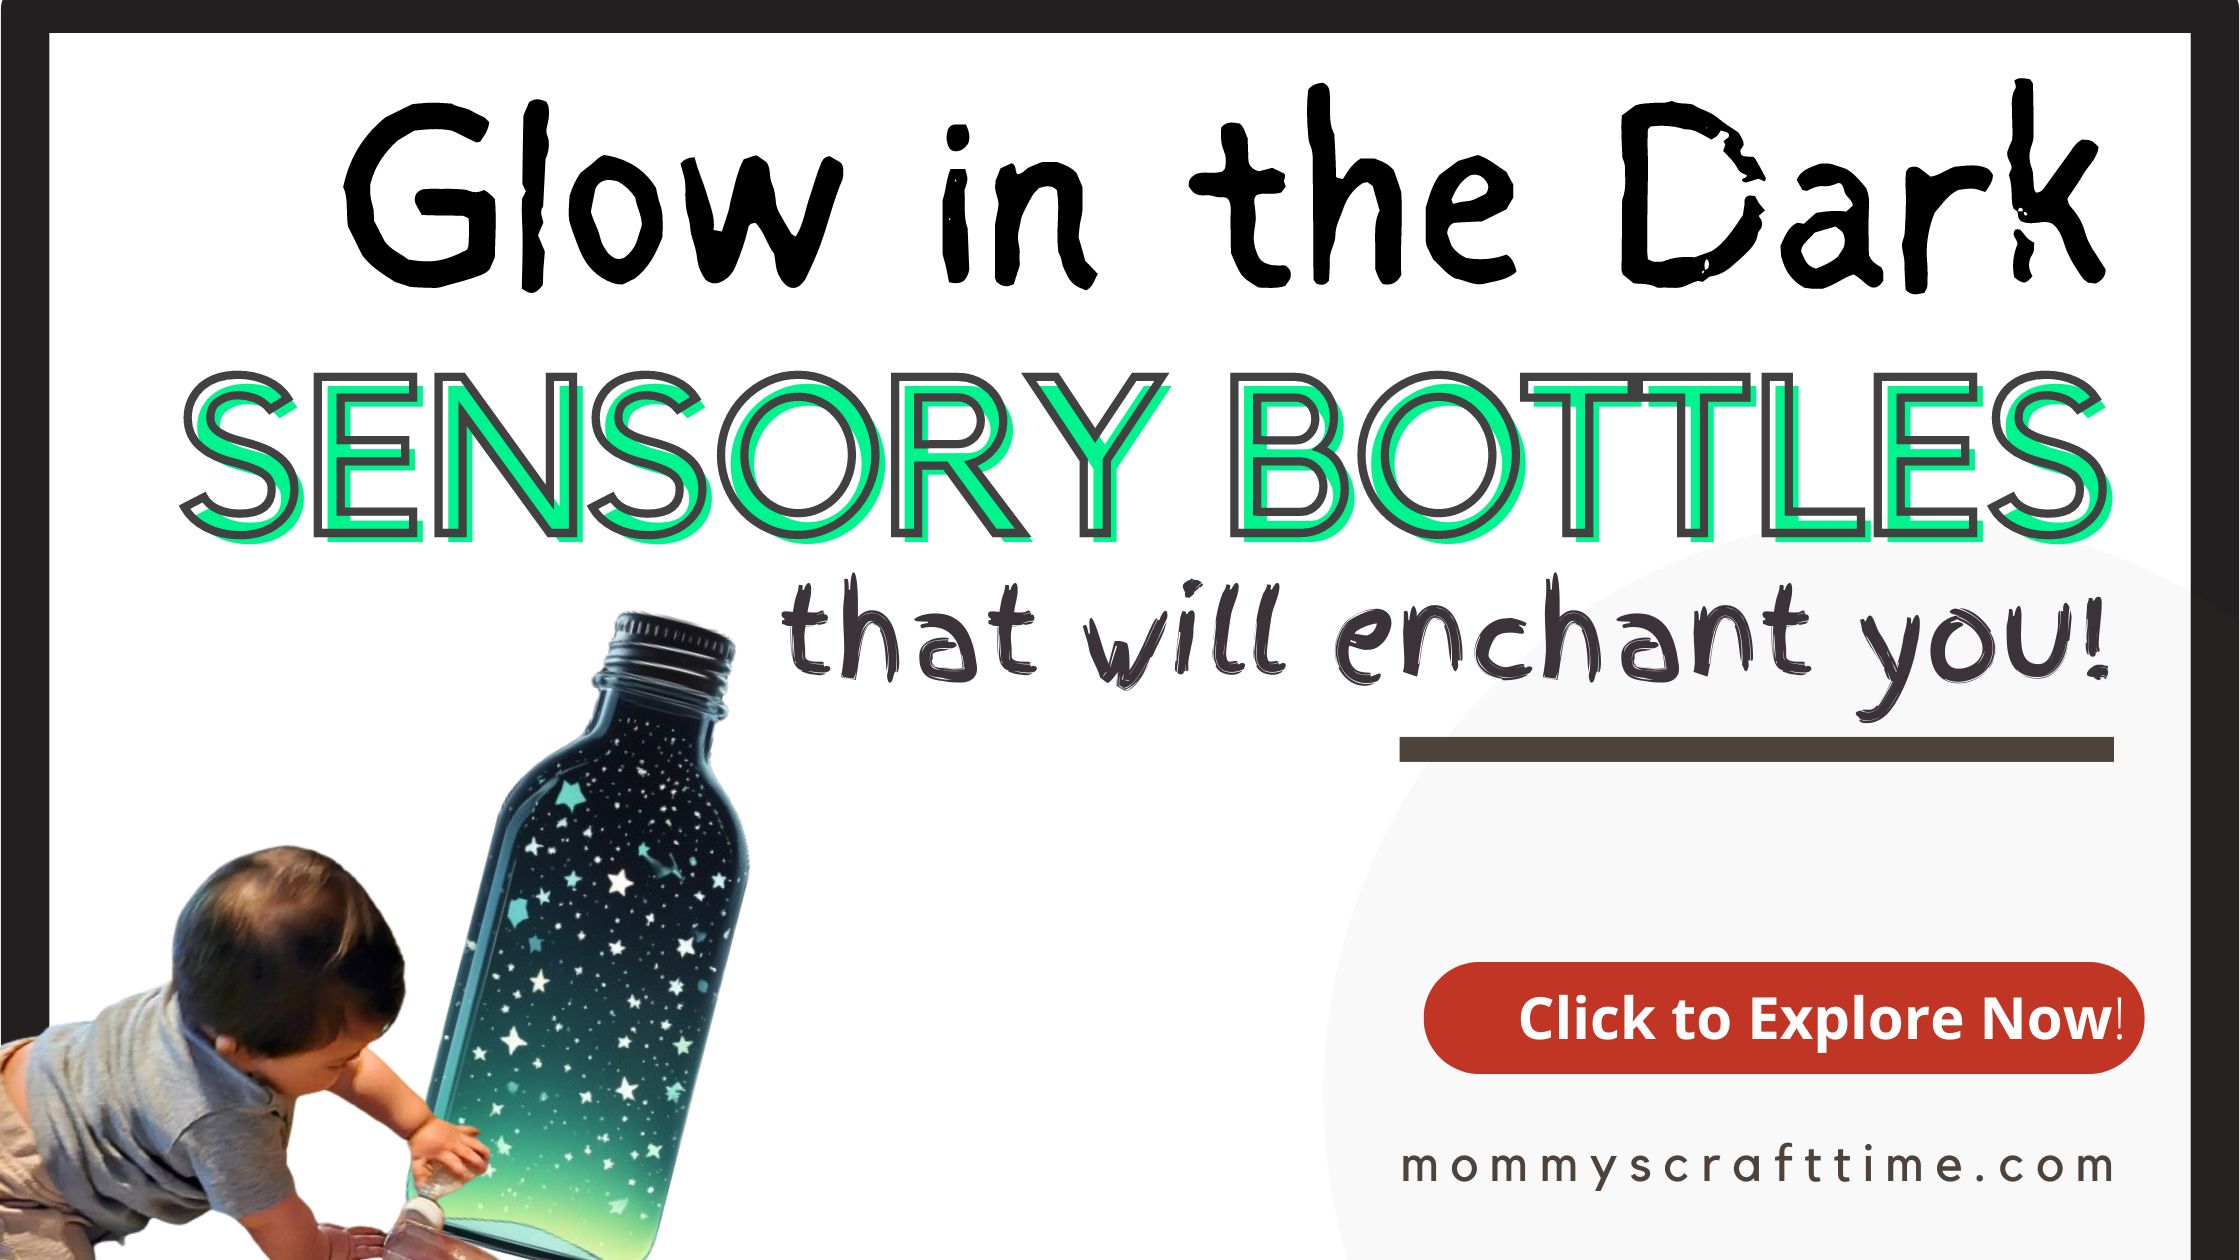
Today, I’m diving into some magical glow-in-the-dark sensory bottle ideas that will light up your life. I’ll share a variety of ideas, tips, and tricks to make these bottles truly enchanting. Plus, I’ll interlink some of my favorite related blog posts for even more inspiration. Let’s get glowing! 🌟✨
Materials Needed
You can find most of these materials at craft stores, online retailers like Amazon, or even your local dollar store. Here’s a list of basic supplies you’ll need for most glow in the dark sensory bottles:
- Clear plastic bottles (Voss water bottles or Smoothie bottles are great for this)
- Glow in the dark paint or powder
- Glow sticks
- Water beads
- Glitter
- Clear glue
- Distilled water
- Small toys or figurines (optional)

This website contains affiliate links, meaning I may earn a small commission if you click and make a purchase, at no extra cost to you. Thank you for supporting my content!
1. Classic Glow Stick Sensory Bottle
This is the easiest way to get started with glow-in-the-dark sensory bottles. Plus, it’s super fun for kids to shake and watch the glow sticks dance around.
Materials:
- Clear plastic bottle
- Glow sticks (various colors)
- Water
Instructions:
- Crack and Shake: Crack the glow sticks to activate them.
- Insert: Place them into the bottle. (Do not cut them into small pieces! If you touch the chemicals inside rinse with water and ask a professional what to do.
- Add Water: Fill the bottle with water, leaving a bit of space at the top.
- Seal: Tightly seal the bottle with glue and tape to prevent leaks.
Tip: This one is super simple and looks amazing in the dark. Just remember to supervise younger kids to ensure they don’t open the bottle, or try to eat the glowsticks while you make the bottles.
Curious about how to fit sensory activities into your day? Check out My Daily SAHM Routine.
2. Glow-in-the-Dark Paint Sensory Bottle
Using glow-in-the-dark paint adds a vibrant and longer-lasting glow to your sensory bottles. Better you keep your toddler far away until the paint is sealed within the bottle.
Materials:
- Clear plastic bottle
- Glow-in-the-dark paint
- Water
- Clear glue
- Glitter (optional)
Instructions:
- Paint the Bottle: Squeeze some glow-in-the-dark paint into the bottle. You can use different colors for a fun effect.
- Add Glue and Water: Add some clear glue to help the paint mix better, then fill the rest with warm water. Apparently warm mixes better.
- Shake: Shake the bottle well to mix the paint, glue, and water.
- Add Glitter: For extra sparkle, add some glitter.
- Seal: Seal the bottle with glue and tape.
Tip: Charge the paint under a bright light or sunlight to make it glow brighter and longer in the dark.
Explore more creative ideas with these 13 Sensory Bottle Ideas.
3. Glowing Water Beads Sensory Bottle
Water beads add a fun, tactile element to your sensory bottles. When combined with glow-in-the-dark elements, they become even more magical!
Materials:
- Clear plastic bottle
- Glow-in-the-dark water beads
- Water
- Small LED light (optional)
Instructions:
- Hydrate Beads: Follow the instructions to hydrate the glow-in-the-dark water beads.
- Fill Bottle: Add the hydrated beads to the bottle.
- Add Water: Fill the rest of the bottle with water.
- Add LED Light: For an extra glow, drop a small waterproof LED light into the bottle.
- Seal: Seal the bottle with glue and tape.
Tip: This bottle looks incredible in the dark and provides a unique sensory experience as kids shake and watch the beads move.
For more sensory fun, explore these DIY Sensory Activities.
4. Glow-in-the-Dark Glitter Sensory Bottle
Glitter makes everything better, right? Unless your toddler decides to get it all over your living room… Combine the glitter with glow-in-the-dark elements, and you have a sensory bottle that’s pure magic.
Materials:
- Clear plastic bottle
- Glow-in-the-dark glitter
- Clear glue
- Water
Instructions:
- Add Glue: Fill the bottle about 1/3 full with clear glue.
- Add Glitter: Add a generous amount of glow-in-the-dark glitter.
- Add Water: Fill the rest of the bottle with water.
- Shake: Shake well to mix the glue, glitter, and water.
- Seal: Seal the bottle with glue and tape.
Tip: This is a great bottle for calming down before bedtime. Watching the glitter swirl around is so relaxing.
5. Glowing Galaxy Sensory Bottle
Create a tiny glowing galaxy in a bottle with this idea. Perfect for stargazers and little astronomers!
Materials:
- Clear plastic bottle
- Glow-in-the-dark stars and moons
- Blue and black food coloring
- Clear glue
- Water
Instructions:
- Add Glue and Water: Fill the bottle halfway with clear glue, then add water to fill almost to the top.
- Add Food Coloring: Add a few drops of blue and black food coloring to create a night sky effect.
- Add Stars and Moons: Drop in glow-in-the-dark stars and moons.
- Shake: Shake well to mix everything.
- Seal: Seal the bottle with glue and tape.
Tip: This bottle looks like a mini galaxy and is perfect for night-time storytelling or as a soothing night light.
6. Glow-in-the-Dark Glue Sensory Bottle
Glow-in-the-dark glue is another fantastic way to add a mesmerizing glow to your sensory bottles. It’s easy to find and super fun to use.
Materials:
- Clear plastic bottle
- Glow-in-the-dark glue
- Water
- Clear glue (optional for added viscosity)
- Glitter (optional for extra sparkle)
- Stickers for outside
Instructions:
- Add Glow Glue: Squeeze a generous amount of glow-in-the-dark glue into the bottle.
- Add Water: Fill the rest of the bottle with water. If you want a thicker consistency, add some clear glue as well.
- Add Glitter: For added sparkle, you can toss in some glitter.
- Shake: Shake the bottle well to mix everything.
- Seal: Seal the bottle with glue and tape to prevent leaks.

Tip: Charge the bottle under a bright light to enhance the glowing effect. This bottle is perfect for bedtime or dark play areas, creating a soothing, glowing effect that kids will love.
7. Glow-in-the-Dark Sticker Sensory Bottle
Glow-in-the-dark stickers are a quick and easy way to create a fun and visually appealing sensory bottle. This is a great option if you want a mess-free project!
Materials:
- Clear plastic bottle
- Glow-in-the-dark stickers (stars, moons, animals, etc.)
- Clear glue or baby oil
- Water
- Glitter (optional)
Instructions:
- Prepare Stickers: If the stickers are large, you may need to cut them down to fit.
- Add Stickers: Attach the glow-in-the-dark stickers outside of the bottle.
- Add Glue or Oil: Fill the bottle halfway with clear glue or baby oil.
- Add Water: Fill the rest of the bottle with water.
- Add Glitter: For added sparkle, add some glitter.
- Shake: Shake the bottle to mix everything together.
- Seal: Seal the bottle with glue and tape.
Tip: Use a variety of sticker shapes and colors to create a more engaging and fun sensory experience. This bottle is perfect for a space-themed play session or nighttime sensory activity.
Where to Buy Materials
- Amazon: You can find all the materials you need, from clear glue to glow-in-the-dark paint, on Amazon. It’s convenient and often has bulk options.
- Local Craft Stores: Stores like Michaels or Hobby Lobby carry a wide range of craft supplies, including glow-in-the-dark items. In Germany stores like Tedi, Kik, Action and Pepco might carry glow in the dark elements. Tedi for sure.
- Dollar Stores: Great for affordable glow sticks, clear bottles, and even some glitter or small toys.
- Online Specialty Stores: Websites like Oriental Trading or Discount School Supply have unique sensory play items and bulk options for classrooms or group activities.
What’s Next?
For even more sensory bottle inspiration, check out these posts:
- Explore stunning layered designs in this post on layered sensory bottles.
- Add an auditory element with ideas from this post on sound sensory bottles.
- Dive into more sensory play activities in this article on sensory craft ideas .
- Bring the outdoors inside with these nature-inspired bottles.
- Celebrate the holidays with these festive Christmas sensory bottle ideas.
- Fairy Tale Sensory Bottles: Add a touch of magic with fairy tale-themed bottles.
Conclusion
Glow-in-the-dark sensory bottles are a fantastic addition to any sensory play collection. They’re visually stunning, engaging, and provide a unique sensory experience for kids. Plus, they’re fun and easy to make!
So, gather your supplies and start creating your very own glow-in-the-dark sensory bottles. Your kids will be enchanted by the glowing magic, and you’ll love seeing their faces light up with wonder and joy. Happy crafting! 🎨✨ You can share your creations with us on Instagram or per email.
Pin it for Later

📌 Pin now, read later! Save our guide on Pinterest and share the joy of sensory play with your friends and family. Click the link below and start crafting unforgettable memories with your little ones.






Leave a Reply