Hey there mommas! If you’re looking for some new and exciting sensory bottle ideas, you’re in for a treat.
Today, we’re diving into fairy tales, superheroes, and dinosaurs with our fairy tale sensory bottles. These themes are sure to captivate your little ones and add some serious fun to their playtime. Let’s get crafting!

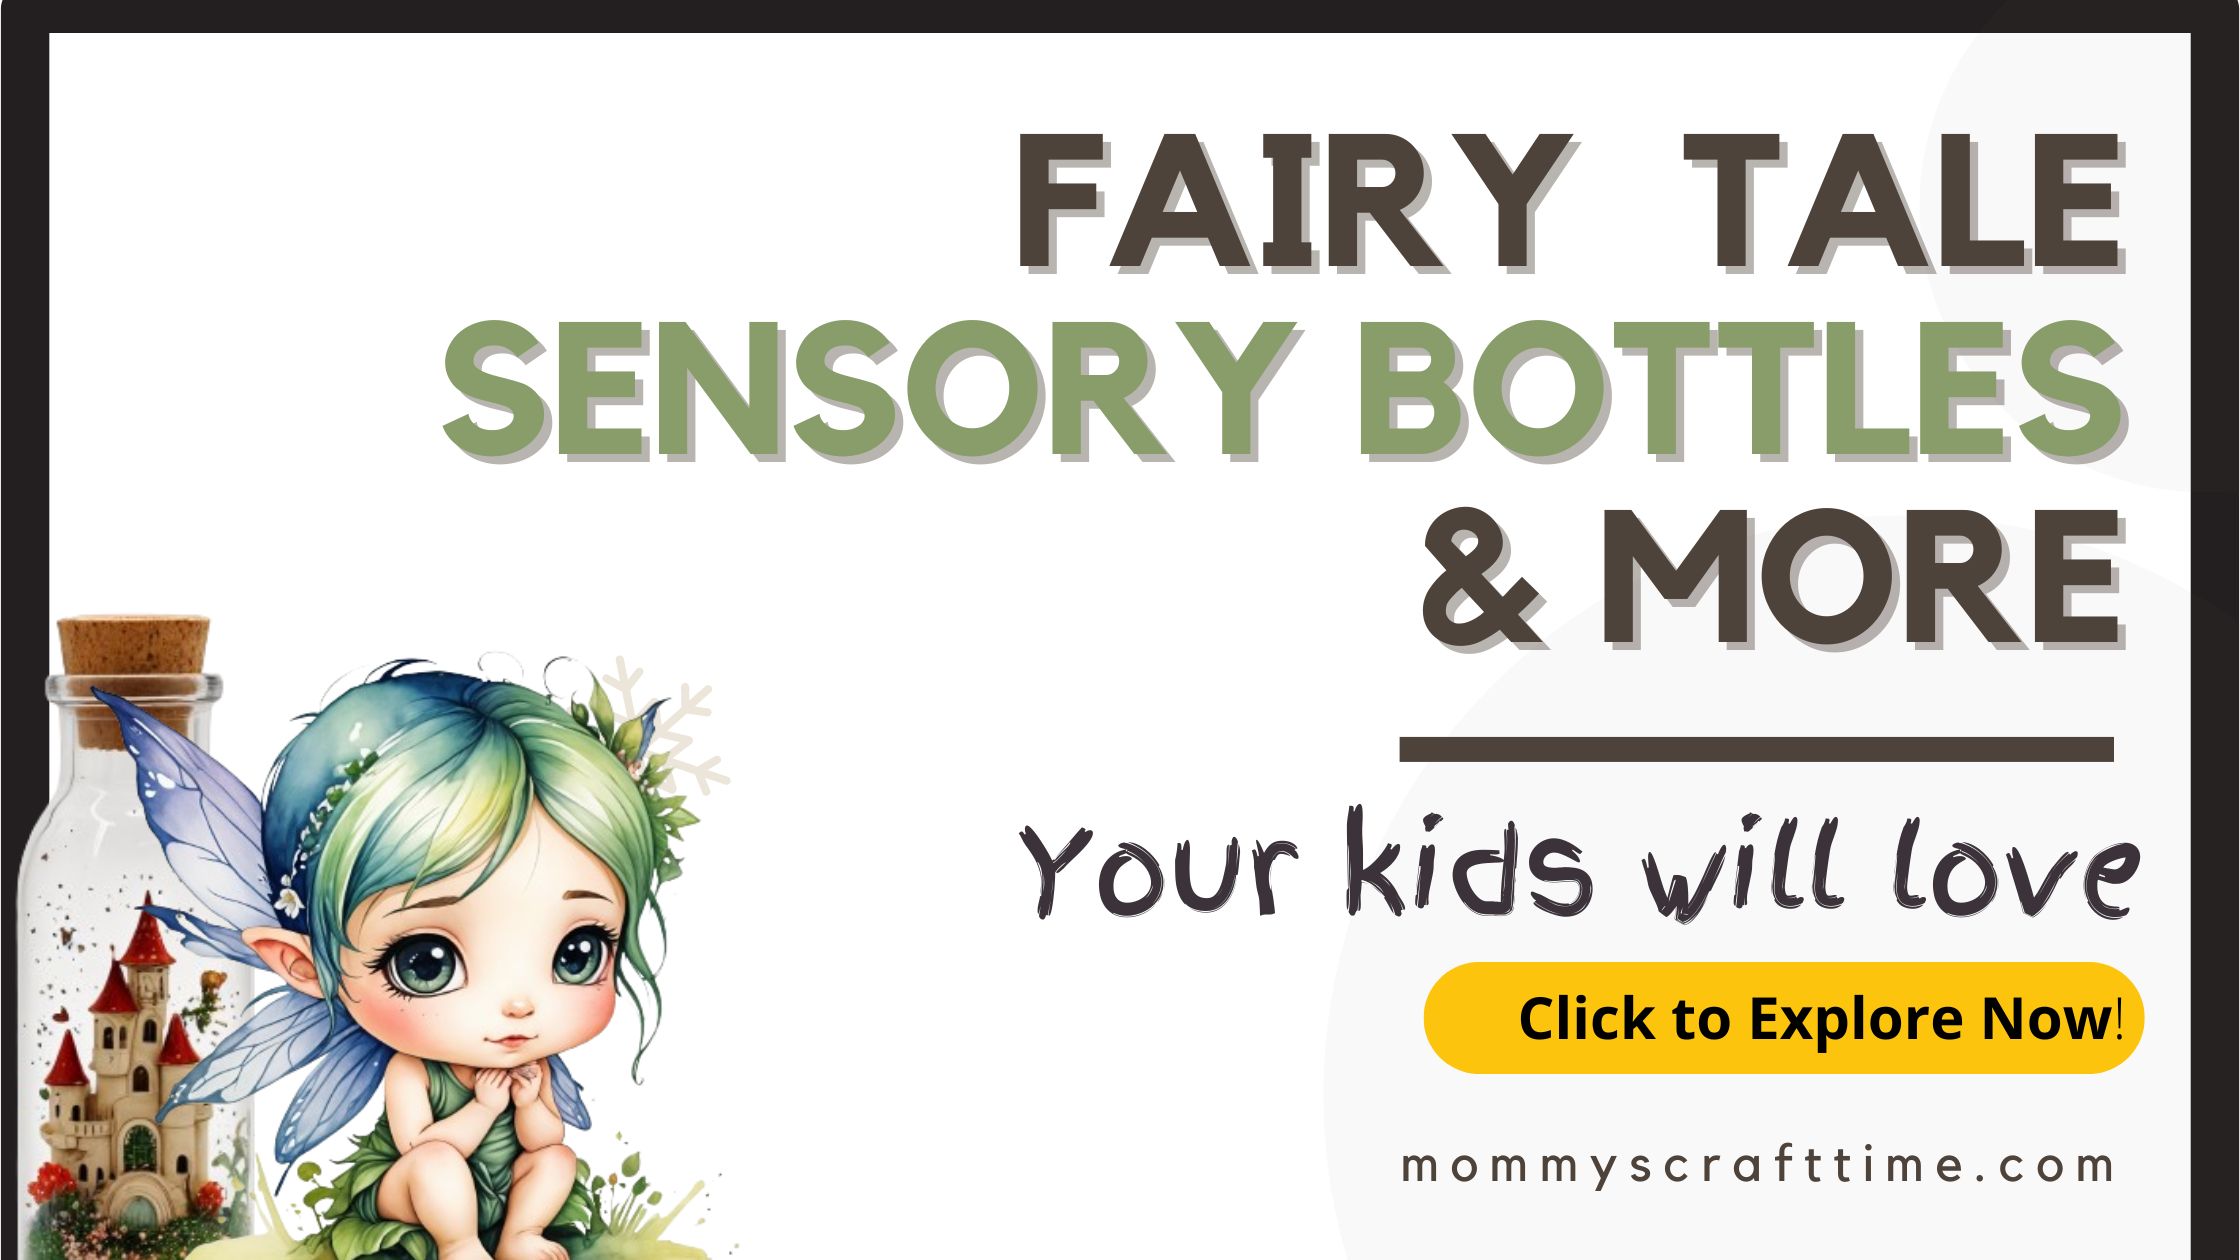
Fairy Tale Sensory Bottles
This post may contain affiliate links, including links to products on Amazon. As an Amazon Associate, I earn from qualifying purchases at no extra cost to you.
Fairy tales are filled with magic, wonder, and endless possibilities. Creating fairy tale sensory bottles is a fantastic way to bring these stories to life and spark your child’s imagination.
1. Fairy Garden Bottle 🌸🧚♂️
Materials:
- Clear bottle
- Green glitter
- Tiny plastic castle
- Mini faux flowers, and moss
- Baby Oil or water and clear glue
Instructions:
- Fill the bottle halfway with water and the other half with clear glue. Or baby oil.
- Add green glitter for a sparkly garden effect.
- Drop in tiny faux moss and mini faux flowers and plants.
- Add mini castle.
- Seal the bottle tightly with glue and tape to prevent leaks.
Fun Fact: This bottle is perfect for storytelling! Have your kids shake the bottle and make up their own fairy tales. 🌼 (Real plants will turn brown over time).
For more layered sensory bottle ideas, check out how to make stunning layered sensory bottles.

2. Cinderella’s Sparkling Slipper 👠✨
Materials:
- Clear bottle
- Blue glitter
- Small plastic slipper
- Star-shaped confetti
- Water and clear glue
Instructions:
- Fill the bottle halfway with water and the other half with clear glue.
- Add blue glitter and star-shaped confetti.
- Drop in a small plastic slipper.
- Seal the bottle tightly with glue and tape to prevent leaks.
Fun Fact: Use this bottle while reading the story of Cinderella. Watch the glitter swirl around like magic dust! 🌟
3. Enchanted Forest Bottle 🌳🍄
Materials:
- Clear bottle
- Green and brown glitter
- Tiny plastic trees and mushrooms
- Small woodland animal figurines
- Water and clear glue
Instructions:
- Fill the bottle halfway with water and the other half with clear glue.
- Add green and brown glitter.
- Drop in tiny plastic trees, mushrooms, and woodland animal figurines.
- Seal the bottle tightly with glue and tape to prevent leaks.
Fun Fact: This bottle is great for calming down. Shake it and watch the forest come alive.
Looking for more nature-inspired sensory bottles? Check out these nature sensory bottle ideas.
Superhero Sensory Bottles 🦸♀️💥
Unleash your child’s inner superhero with these action-packed sensory bottles. They’re perfect for kids who love adventure and saving the day!
1. Superhero Glitter Explosion 💥🌟
Materials:
- Clear bottle
- Red, blue, and gold glitter
- Small superhero figurines
- Water and clear glue
Instructions:
- Fill the bottle halfway with water and the other half with clear glue.
- Add red, blue, and gold glitter.
- Drop in small superhero figurines.
- Seal the bottle tightly with glue and tape to prevent leaks.
Fun Fact: Use this bottle during playtime and let your kids act out their superhero adventures. 🦸♂️
For more sensory bottle ideas, visit our post on magical sensory bottles for toddlers.
2. Hero’s Night Sky Bottle 🌌🦸♂️
Materials:
- Clear bottle
- Dark blue glitter
- Star-shaped confetti
- Small superhero figurines
- Water and clear glue
Instructions:
- Fill the bottle halfway with water and the other half with clear glue.
- Add dark blue glitter and star-shaped confetti.
- Drop in small superhero figurines.
- Seal the bottle tightly with glue and tape to prevent leaks.
Fun Fact: This bottle is perfect for bedtime. Shake it and watch the stars twinkle in the night sky. 🌠
3. Lightning Bolt Bottle ⚡🦸♀️
Materials:
- Clear bottle
- Yellow and silver glitter
- Lightning bolt-shaped confetti
- Small superhero figurines
- Water and clear glue
Instructions:
- Fill the bottle halfway with water and the other half with clear glue.
- Add yellow and silver glitter.
- Drop in lightning bolt-shaped confetti and small superhero figurines.
- Seal the bottle tightly with glue and tape to prevent leaks.
Fun Fact: This bottle is great for high-energy play. Shake it and watch the lightning bolts flash! ⚡
For more sensory play ideas, check out our post on sensory play crafts for toddlers.
Dinosaur Sensory Bottles 🦖🌋
Take a trip back in time with these prehistoric sensory bottles. They’re perfect for budding paleontologists and dinosaur enthusiasts!
1. Dino Dig Bottle 🦕🦴
Materials:
- Clear bottle
- Small pebbles or beeds
- Tiny plastic dinosaurs or dinosaur sticker for the outside
- Green Food Color
- Water and clear glue
Instructions:
- Fill the bottle halfway with water and the other half with clear glue.
- Add food color.
- Add beads or small pebbles.
- Drop in tiny plastic dinosaurs and small faux bones. Or put a dino sticker outside.
- Seal the bottle tightly with glue and tape to prevent leaks.
Fun Fact: This bottle is perfect for pretend play. Have your kids shake it and go on a dinosaur dig! 🦕

2. Lava Eruption Bottle 🌋🔥
Materials:
- Clear bottle
- Red and orange glitter
- Small plastic dinosaurs
- Water and clear glue
Instructions:
- Fill the bottle halfway with water and the other half with clear glue.
- Add red and orange glitter.
- Drop in small plastic dinosaurs.
- Seal the bottle tightly with glue and tape to prevent leaks.
Fun Fact: Use this bottle to teach your kids about volcanoes and prehistoric life. Shake it and watch the lava flow! 🌋
For more DIY sensory bottles, explore our Christmas sensory bottles post for some festive fun!
3. Jurassic Jungle Bottle 🦖🌿
Materials:
- Clear bottle
- Green glitter
- Tiny plastic dinosaurs
- Mini faux plants and trees
- Water and clear glue
Instructions:
- Fill the bottle halfway with water and the other half with clear glue.
- Add green glitter.
- Drop in tiny plastic dinosaurs and mini faux plants and trees.
- Seal the bottle tightly with glue and tape to prevent leaks.
Fun Fact: This bottle is perfect for storytelling. Have your kids shake it and create their own dinosaur adventures. 🌴
If you are too lazy or busy to create your own sensory bottle you might check Etsy.
How to Make Sensory Bottle Contents Move Slowly
reating a sensory bottle where the contents move slowly can be mesmerizing and calming for kids. The secret lies in the liquid you use and how you thicken it. Let’s dive into some tips and tricks to achieve that perfect, slow-moving effect! 🌟
1. Using Clear Glue or Liquid Soap
One of the easiest ways to make your sensory bottle contents move slowly is by using clear glue or liquid soap. These substances are thicker than water and can create a beautifully slow movement.
Steps:
- Fill: Start by filling your bottle with about 1/3 to 1/2 clear glue or liquid soap.
- Add Water: Top it off with water, leaving a little space at the top.
- Mix Well: Shake the bottle to mix the glue or soap with the water thoroughly.
Tip: You can experiment with the ratio of glue/soap to water to achieve the desired speed of movement. More glue or soap will result in slower-moving contents.
2. Using Corn Syrup or Glycerin
Corn syrup and glycerin are excellent options for making the liquid in your sensory bottles thicker, resulting in slow, soothing movement.
Steps:
- Fill: Fill your bottle about 1/3 to 1/2 with corn syrup or glycerin.
- Add Water: Fill the rest with water, leaving some space at the top.
- Mix Well: Shake the bottle well to ensure the corn syrup or glycerin is fully mixed with the water.
Tip: Just like with glue or soap, you can adjust the ratio of corn syrup or glycerin to water to get the perfect slow-motion effect.
3. Thickening Water with Ingredients
If you prefer to use water but want to thicken it slightly for that slow-moving effect, you can use household ingredients like Xanthan gum or baby oil.
Using Xanthan Gum:
- Mix Xanthan Gum: In a separate container, mix a small amount of Xanthan gum with warm water. Start with about 1/4 teaspoon of Xanthan gum per cup of water.
- Blend Well: Use a blender to ensure it’s fully dissolved and thickened.
- Fill Bottle: Pour the thickened water into your sensory bottle.
Using Baby Oil:
- Fill: Fill your bottle halfway with baby oil.
- Add Water: Add water to fill the rest of the bottle.
- Mix Well: Shake the bottle to mix the baby oil and water. They won’t mix completely, creating a slow, mesmerizing effect.
Tip: Baby oil creates a lovely, slow-moving effect with a unique separation line between oil and water, adding to the sensory experience.
Conclusion
Creating fairy tale, superhero, and dinosaur sensory bottles is a fantastic way to engage your kids’ imaginations and senses. Each theme offers a unique opportunity for storytelling, learning, and endless play. Plus, making these bottles together can be a fun bonding activity for you and your little ones.
So, gather your materials, let your creativity run wild, and start crafting these magical sensory bottles. Your kids will love the adventure, and you’ll enjoy the smiles and giggles that come with it. Happy crafting! 🧚♂️🦸♀️🦖
Pin it for Later

📌 Pin now, read later! Save our guide on Pinterest and share the joy of sensory play with your friends and family. Click the pin-it button and start crafting unforgettable memories with your little ones.




Leave a Reply