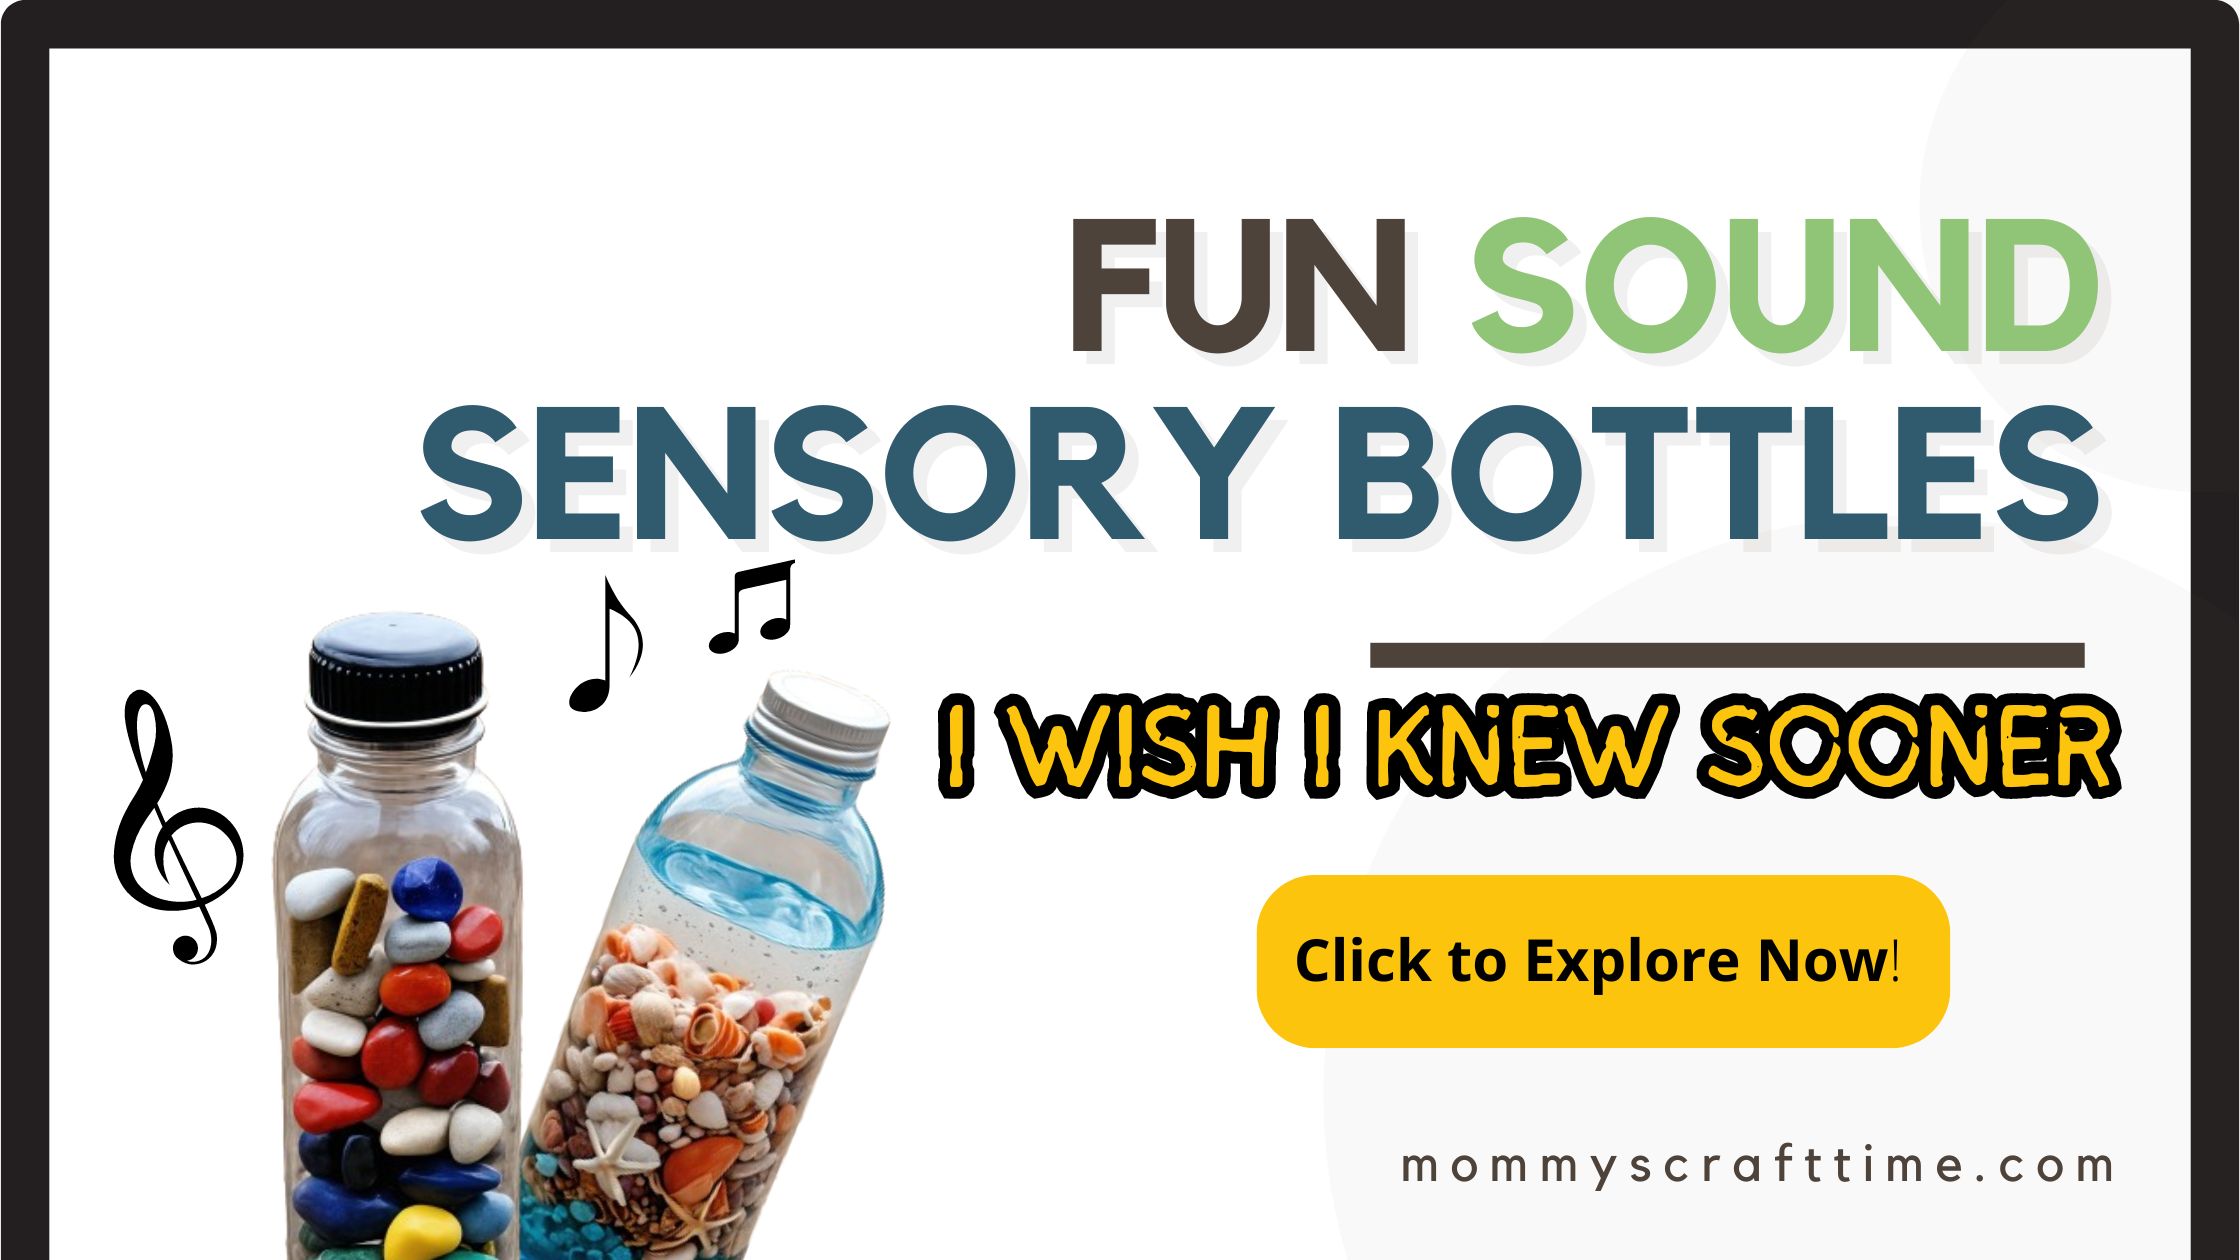
Hey there, mommas! 🌟 Today, I’m diving into the world of sound sensory bottles
Those mesmerizing, soothing, and just plain fun DIY projects that are perfect for kids (and let’s be honest, adults too!). If you’re looking for an activity that blends creativity, science, and a touch of magic, you’re in the right place. Let’s make some noise – literally!
What Are Sound Sensory Bottles?
Sound sensory bottles are essentially bottles filled with various materials that create interesting sounds when shaken, turned, or rolled.
They’re not only a great way to entertain kids but also serve as an educational tool to develop their auditory and sensory skills. Plus, they’re super easy to make and customize! You can basically create your own DIY toy rattle.

Why Make Sound Sensory Bottles?
Before we jump into the how-to, let’s talk about the why:
- Portable Entertainment: Perfect for car rides, waiting rooms, or any situation where a little distraction is needed. PS.: Here is a post on how to entertain your toddler on a long distance car ride.
- Sensory Development: Sound sensory bottles stimulate the auditory sense, helping kids learn to differentiate between various sounds and volumes.
- Calming Tool: They can serve as a calming tool for kids who need a sensory break or help with self-regulation.
- Educational Fun: These bottles can be a fun way to explore science concepts like cause and effect, volume, and the properties of different materials.
Materials You’ll Need For Your Sound Sensory Bottles
This website contains affiliate links, meaning I may earn a small commission if you click and make a purchase, at no extra cost to you. Thank you for supporting my content!
Alright, let’s gather our materials. The beauty of sound sensory bottles is that you can use a wide variety of items. Here are some basics to get you started:
- Empty plastic bottles (water bottles, soda bottles, VOSS bottle, smoothie bottles etc.)
- Glue gun or strong glue (to seal the bottles – optional depending on your toddler)
- Decorative materials (stickers, washi tape, present wrap etc.)
- Funnels (for easier filling)
For the fillings, you can get creative! Here are some ideas:
- Miscellaneous: Small bells, beads, buttons, shells, paper clips, small toys
- Dry Materials: Rice, pasta, beans, lentils, popcorn kernels, sand, gravel
- Liquid Materials: Water, oil, liquid soap, glitter glue
DIY Sound Sensory Bottle Ideas
Now, let’s get into the fun part – making the sensory bottles aka your DIY toy rattle for your toddler! Here are some ideas to get you started:
1. Rainmaker Bottle 🌧️
This one’s a classic and super soothing! Here’s how you do it:
- Dry rice
- Small plastic beads or stones (we used walnuts)
- Toothpicks (optional) or small twigs
Instructions:
- Fill the bottle halfway with rice. (You can color the rice too I used tint for the rice!)
- Add a handful of small plastic beads or stones.
- For an extra twist, insert a few toothpicks or twigs to create a more complex sound as the rice and beads hit them.
- Seal the bottle tightly with glue.
Sound: This bottle will mimic the sound of rain falling, making it a perfect calming tool.
Tip: My friend used wrapping paper to hide the contents, so her toddler only focuses on the sound. Want something visual instead: Light up your playtime with these Glow in the Dark Sensory Bottles


2. Ocean Wave Bottle 🌊
Bring the beach to your home with this ocean-themed bottle.
Sound: The water and oil will create a gentle swishing sound, reminiscent of ocean waves.
Materials:
- Blue food coloring
- Water
- Baby oil or vegetable oil
- Small seashells and/ or plastic sea creatures ( I found mine real cheap at Tedi for all the German mommas, the dollar store might work for Americans?)
Instructions:
- Fill the bottle halfway with water and add a few drops of blue food coloring.
- Add seashells or plastic sea creatures.
- Fill the rest of the bottle with oil.
- Seal the bottle tightly with glue.

3. Musical Beads Bottle
Let’s get musical with this one!
Materials:
- Small bells
- Colorful beads
- Glitter (optional)
Instructions:
- Fill the bottle with beads and small bells.
- Add some glitter for visual appeal.
- Seal the bottle tightly with glue.
Sound: This bottle will have a jingly, musical sound that’s sure to entertain. My bells are from the Lindt chocolate bunny lol.
4. Nature Bottles 🍃
Bring the sounds of nature indoors. And it’s also nice to go out and collect the ingredients with Luca <3.
Ingredients:
- Small pebbles
- Dried leaves
- Small twigs
- Acorns, Cones, Seeds, Flowers ( you can dry them)
Instructions:
- Add pebbles, dried leaves, and small twigs, etc. to the bottle.
- Seal the bottle tightly with glue.
Sound: This bottle will create a crunchy, rustling sound, much like walking through the forest. 🍂 Here are more Sound Sensory Bottle Ideas to Love.
5. Shimmering Sequins Bottle
Add some sparkle to your sensory play.
Materials:
- Sequins
- Small beads
- Water
- Glitter glue
Instructions:
- Fill the bottle with water and add some glitter glue.
- Add sequins and small beads.
- Seal the bottle tightly with glue.
Sound: This bottle will produce a soft, swishing sound with a dazzling visual effect. ✨For even more inspiration, check out these 13 Sensory Bottle Ideas.
Pin it for Later

📌 Pin now, read later! Save our guide on Pinterest and share the joy of sensory play with your friends and family. Click pin it below and start crafting unforgettable memories with your little ones.
Tips for Making the Best Sound Sensory Bottles
Here are some tips to ensure your sound sensory bottles are a hit:
- Supervise Younger Kids: While these bottles are generally safe, always supervise younger kids to ensure they don’t try to open the bottles or put small pieces in their mouths.
- Seal Them Well: Use a strong glue or glue gun to seal the bottle caps securely. The last thing you want is rice or glitter all over the place!
- Test the Sound: Before sealing, shake the bottle to make sure you’re happy with the sound. You can always add more materials or take some out.
- Decorate the Bottles: Make the bottles visually appealing by adding stickers, washi tape, or painting the caps. This adds another layer of sensory fun! Want sensory bottles for the holidays start with these Christmas Sensory Bottles.
Educational Activities with Sound Sensory Bottles
Now that you’ve made your sound sensory bottles, here are some educational activities you can try:
1. Sound Matching Game
Create pairs of sound sensory bottles that produce similar sounds. Have the kids shake each bottle and try to match the sounds.
2. Guess the Sound
Blindfold the kids and have them shake a bottle. They have to guess what materials are inside based on the sound they hear.
3. Sound Stories
Use the bottles to create sound effects for a story. For example, use the rainmaker bottle for a rainy day story or the nature bottle for a walk in the woods story.
4. Science Experiment
Discuss the different sounds produced by various materials. Talk about why certain materials make louder sounds than others, or why some are more soothing.
Pair your sound bottles with 5 Flashcard Sets for even more fun!

Wrapping Up
There you have it – a complete guide to making and using sound sensory bottles! 🎉 These bottles are not only fun to make but also offer a wonderful way for kids to explore their senses and learn through play. Whether you’re a parent, teacher, or just someone who loves DIY projects, sound sensory bottles are a fantastic addition to your activity repertoire.
So, grab those empty bottles and get creative! Your kids (and you) will have a blast making and playing with these sensory delights. Don’t forget to share your creations with me – I’d love to see what amazing bottles you come up with! If you are curious about other sound sensory activities you can check interest here.
Happy crafting! ✂️✨





Leave a Reply