The Perfect Way for Toddlers to Explore Woodland Animals!
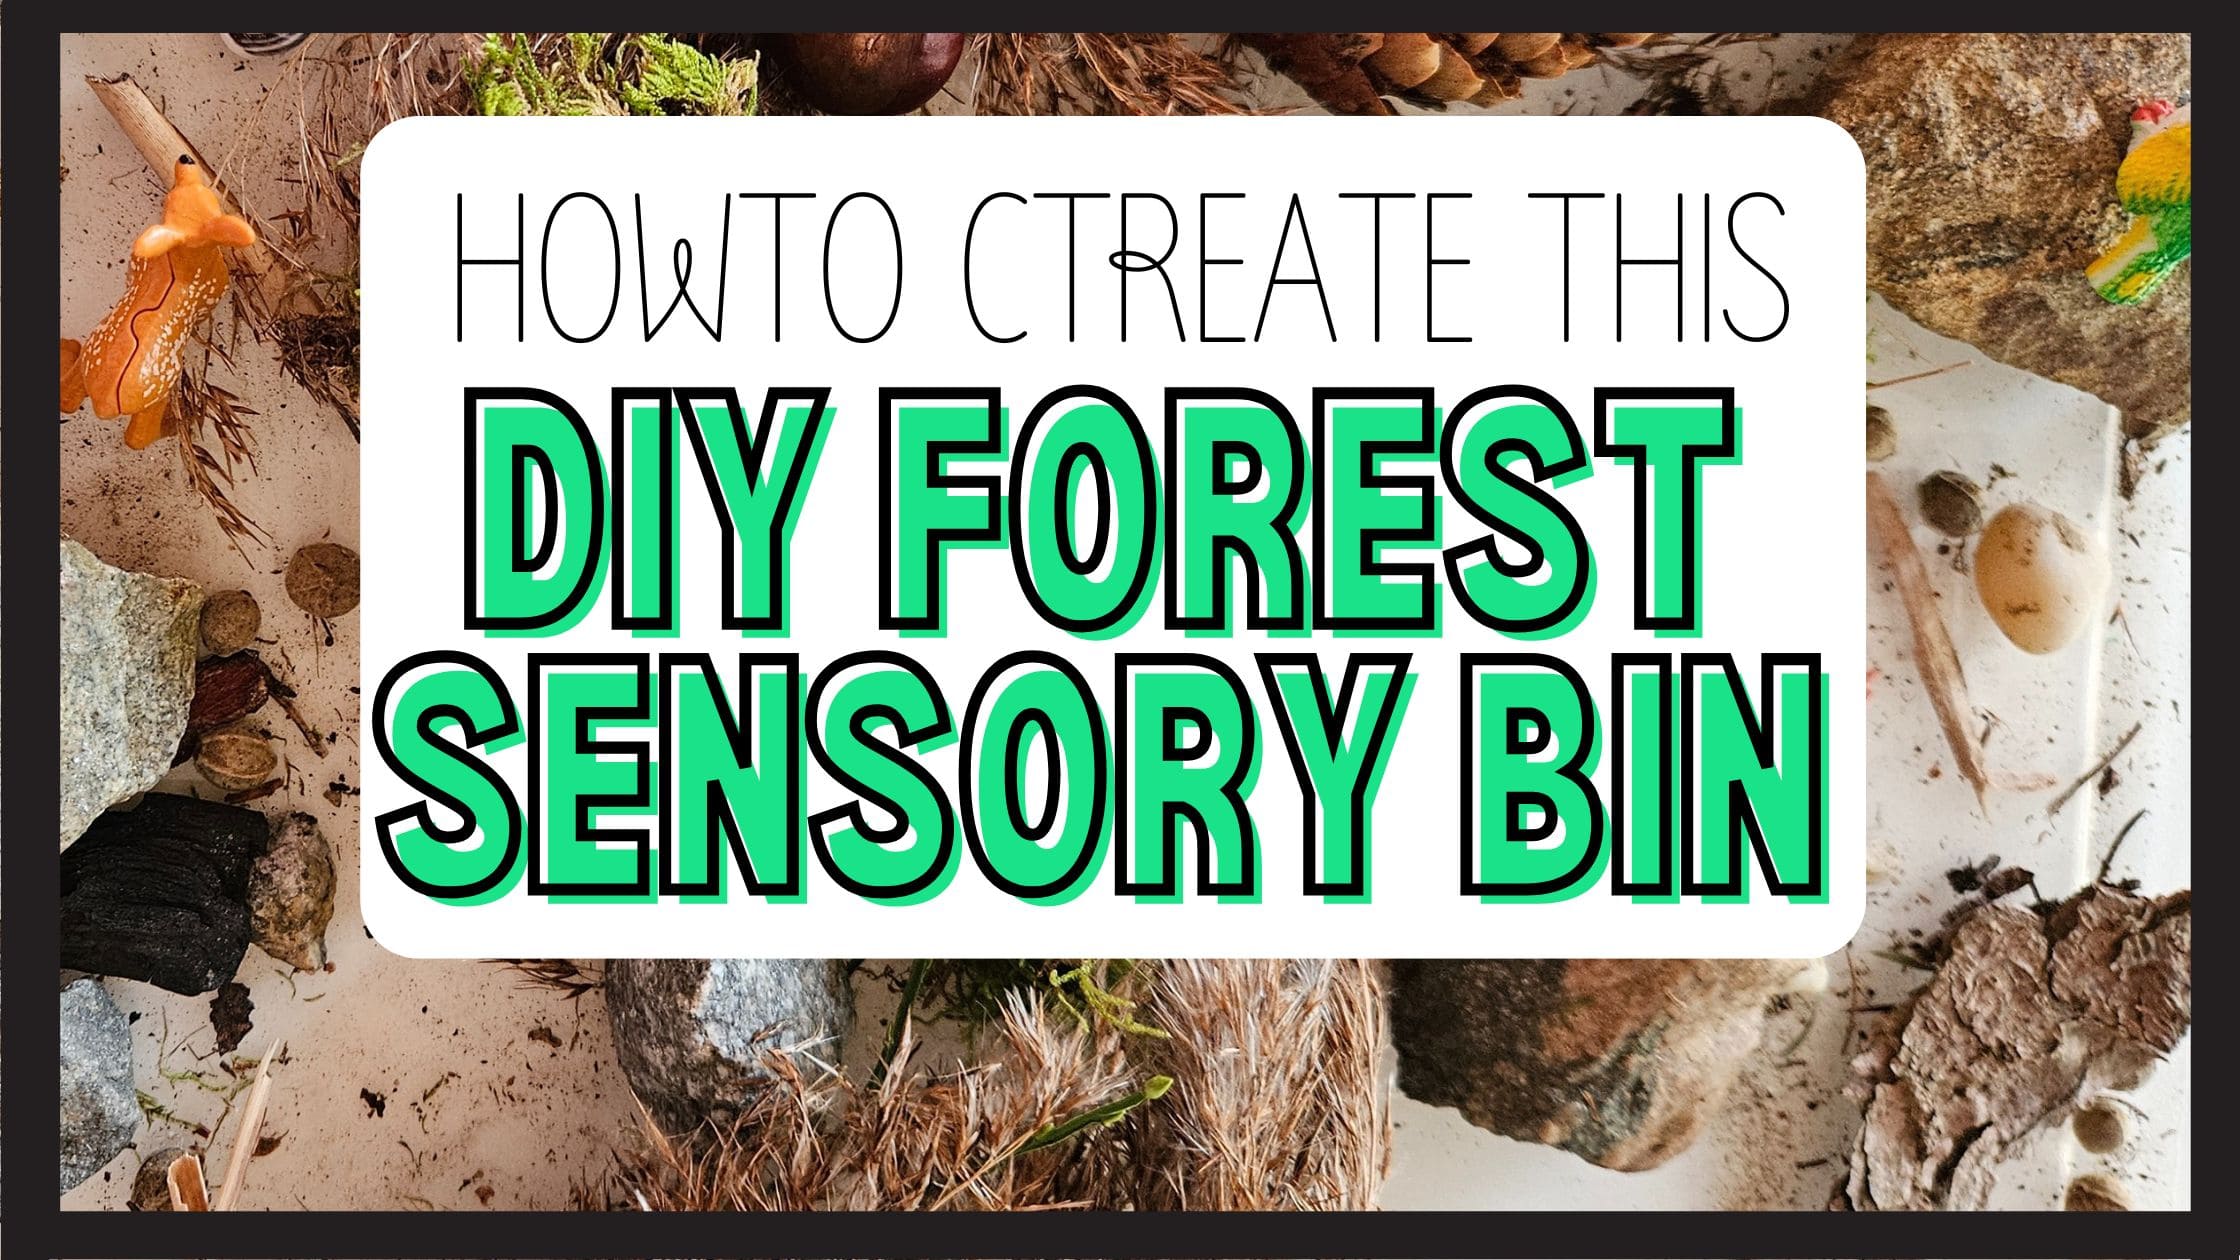
I put together this forest sensory bin for my toddler to keep him busy while I prepped a craft. It took just five minutes to set up, and he’s been playing with it for three days straight! In this post, I’ll share what you need and how to set it up. It’s an easy way to bring nature indoors, encourage open-ended play, and introduce nature-based learning with loose parts.
Materials Needed

To create our forest sensory bin, we gathered materials from a nature walk. Here’s what we included:
- Natural elements: Pinecones, small rocks (is your kid also super fascinated by stones?), sticks, moss, dried grass, bark, leaves, and chestnuts. We even found a snail shell.
- Mini animal figurines: Frogs, fish, a rabbit, deers, spiders. For the Germans here we used the animals from the “Ü-Eier – The 2025 Natoons Series”. And some are from Tedi the 20cts box.
- Other nature treasures: Snail shells, pebbles, and tiny acorns
- Sensory bin fillers: Dried beans, rice, or sand can be added for extra texture and depth. But trust me this is already messy enough.
- A large shallow bin to contain everything. I got this one from TEDI for 4€.
- I also added a small spy glass (also from TEDI).
- You can also include blue stones and use them for a river. (Day 2 we added a few more things).

How We Set It Up
Setting up this sensory bin was quick and easy:
Gather materials – We took a short nature walk and collected small items like pinecones, bark, and moss.

Choose a bin – A shallow storage container or tray works best to keep everything contained.

Layer the base – We started with a layer of dried grass and moss as a soft foundation.

Add loose parts – Next, we scattered rocks, sticks, and leaves around the bin to add texture and to create a forest environment. Here is the “water”.

Include sensory bin fillers or more loose parts – We didn’t add rice or anything, but a lot of loose parts like stones, nut shells (only if your kid or others aren’t allergic!) More stones, bark. You could add beans or rice, but I didn’t think it’s necessary.

Introduce animals – Finally, we placed the mini animal figurines inside, ready for imaginative play. Can you spot all? There are more than 10!
Day 1.: Testing if my toddler actually likes it.

Day 2.: More animals, more natural materials.

Look at how cute those animal areas are. Honestly I liked playing with it too!

The deer family was just <3.

IF you don’t want to DIY it, you could get one from Etsy. I haven’t tried this one, but it looked decent. Since animals are pretty expensive it might be cheaper this way (affiliate link):
How We Played
At first I let him freestyle, after all the purpose was to keep him busy, while I prepped something else. After around 15 minutes he got a bit bored. Bored means messy, with parts going everywhere usually. So I did some:
Imaginative play – I told him let’s feed the animals. Let’s make some homes for the animals. Where do the spiders live? Where are the animals hiding?
Animal storytelling – Next I just made up stories with the animals in the bins. Phew.
I Spy: I used the spy glass to make the animals look bigger and let him search for animals.

In the end we made a little fire pit and I told him how dangerous it is to make fires in the forest. I am sure next time we’ll come up with more ideas. How would you play with this?
Enjoyed This Post? Here’s How You Can Help!

If you enjoyed this post, please take 60 seconds to tell a friend.
Whether it’s a quick mention in a mom’s group, sharing on social media, or chatting about it with friends, every share makes a big difference.
I spend many hours crafting posts like this.
Every little helps and I rely on people like yourself to help grow traffic!📌 Pin now, read later! Leave a Pin Comment for extra love <3 I’ll reciprocate.
Cleanup & Storage Tips

Since I used a container with lid storage was super easy. I will disassembly it, when he starts losing interest. All the materials were dried so they won’t mold for a while. Besides that I have a loose part shelf that looks a right mess.
More Sensory Bin Ideas
This forest sensory bin was a hit! Try more fun ideas:
👉 30+ Sensory Bin Ideas
👉 Sensory Bins for Babies Under One
👉 Farm-Themed Sensory Bin
👉 Bug Sensory Bins
👉 Circus Sensory Bins
Would you try this with your little one? Let me know in the comments! 😊
Latest Posts:
Easy DIY Father’s Day Card with Real Roses (From Toddlers)
This year, I wanted to create a super simple craft with my 1-year-old, Luca, to…
21+ Easy Father’s Day Coloring Pages Printable: (Free Download!)
Looking for a sweet, easy way for kids to show Dad some love this Father’s…
Easy Sticker Wall + Scribble Zone for Toddlers: Creative and Mess-Free
✨ A Simple Idea That Sparked Big Creativity The idea for this activity came from…
Simple and Fun Animal Walks for Toddlers: Boost Core Strength with Outdoor Gross Motor Play
I hated school sports. I am short, have bad eyesight and was always the last…
Arctic Ocean Sensory Bin DIY — The One Sensory Bin You Need to Try This Week
Creating an Arctic Ocean sensory bin has easily been one of our favorite indoor toddler…
9 Unique Last-Minute Mother’s Day Gift Ideas: What to Get My Mum for Mother’s Day
Mother’s Day has literally sneaked up on me — it’s in two days, and I’m…
