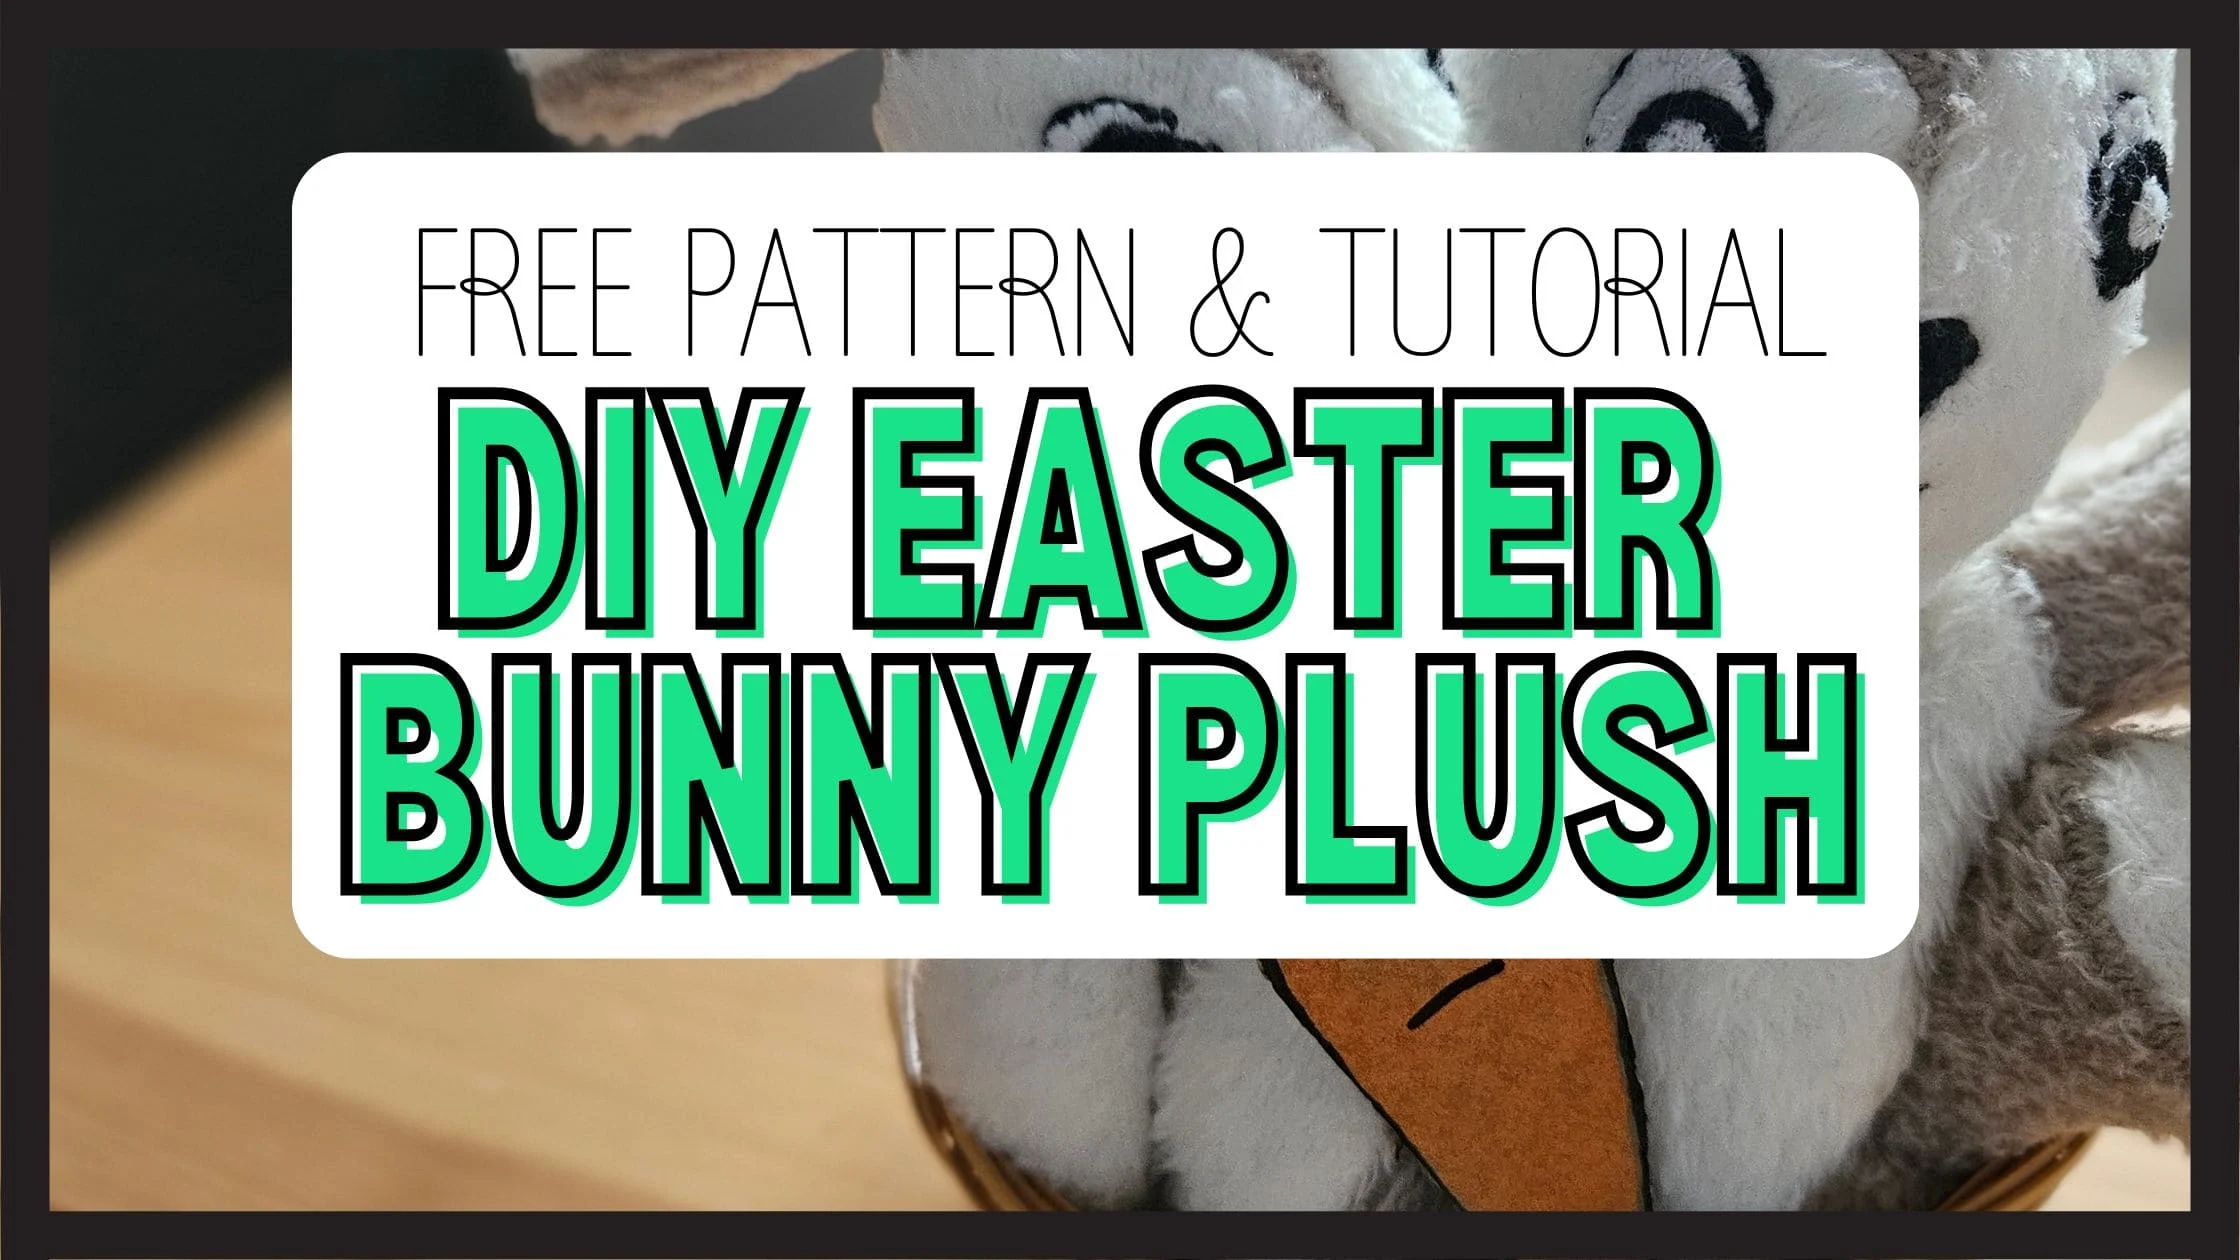
Woohoo! This is my 100th blog post, and I’m going all out! 🎉 To make it extra special, my mum—a trained seamstress (💁♀️)—is here as a guest to show you step by step how to sew the cutest Easter Bunny plush for your kids Easter basket. The belly is a cherry pit pillow.🐰💛 Free pattern included! She did them for my son.
I’m beyond proud to have her here, so please show some love and share this post. I know she’d be thrilled if her hard work pays off. Danke, Mama! Ich liebe dich. ❤️
Sneak peak: Btw if you want to know how to make the felt carrot check this post.

Also, let me know in the comments if you want me—a total sewing noob—to give this a try and film it for you! 😆🎥
- Enjoyed This Post? Here’s How You Can Help!
- Materials You’ll Need For The Easter Bunny Plush:
- Step 1: Print and Cut Out the Pattern
- 2. Cut Out The Pattern With A Seam Allowance
- 3. Start With The Ears Of The Easter Bunny Plushie
- 4. Attach The Bunny Ears To The Forehead And The Back Of The Head
- Step 5: Sewing the Bunny’s Head
- Step 6: Making the Tail
- Step 7: Attaching the Tail & Finishing the Back
- Step 8: Assembling the Body
- Wrapping Up
- Latest Posts:
Enjoyed This Post? Here’s How You Can Help!

If you enjoyed this post, please take 60 seconds to tell a friend.
Whether it’s a quick mention in a mom’s group, sharing on social media, or chatting about it with friends, every share makes a big difference.
I spend many hours crafting posts like this.
Every little helps and I rely on people like yourself to help grow traffic!📌 Pin now, read later!
Here’s how you can sew this adorable Easter Bunny plush with my mum’s step-by-step instructions! 🐰✨
Materials You’ll Need For The Easter Bunny Plush:
- Soft fabric in 2 colors (cotton, fleece, or minky) my mum used a blanket.
- Matching thread
- Stuffing (polyfill or wool)
- The cherry pit pillow (optional)
- A zipper if you make the variation with the cherry pit pillow.
- White and black felt (for the eyes and nose)
- Black embroidery floss (for the face)
- Scissors & sewing pins
- Sewing machine (or hand-sewing needle)
- Measuring tape (to check fabric size)
- Tailor’s chalk (though it didn’t work great on this fabric)
- Free bunny pattern (download below!)
Step 1: Print and Cut Out the Pattern
Print the bunny pattern (at the end) once and cut it out. Prepare your fabric. You’ll need two colors a darker and a brighter one. Each fabric should be around A3 size= 11.7 x 16.5 inches (29.7 x 42 cm)..
Fold your fabrics right sides together, face to face (the pretty side should be on the inside and the wrong sides out). This way, you’ll get two mirrored pieces.

My mum marked the pieces that should be cut out on the bright (hell) and the ones that should be cut out on the dark (dunkel) fabric with a dark and a bright circle. And she wrote down the number of times it should be cut out.

The ones in the middle are the eyes. They have to be cut out from the felt! The big one is white and the small one is black (schwarz) felt.
2. Cut Out The Pattern With A Seam Allowance

Pin the pattern to the fabric and cut around it with a 0.75 cm seam allowance ¼ to ⅓ inch (0.3 inches). You can mark the lines with chalk, but this depends on the fabric. It didn’t work well on the fabric my mum used so she just eyeballed it.

3. Start With The Ears Of The Easter Bunny Plushie
You’ll have to cut out the ear pieces. 2 times on bright and 2 times on dark fabric. Take one light and one dark ear piece, pin them together, and sew along the edges of the pattern (so around 0,75cm (0.3 inches) inside of the fabric). Leave the bottom open (see image).

Turn the ear right side out:

Fold the light-colored side of the ear slightly toward the center, fix it with a needle if the fabric keeps escaping. Sew the bottom close like described on the image with a 0,75cm (0.3 inches) seam allowance to hold the shape.

4. Attach The Bunny Ears To The Forehead And The Back Of The Head
Sew the ears in between Part 6 (Teil 6) and part 5 (Teil 5) at the marked positions. First..

The ears should be placed as shown below, lying on part 5. The nice side of part 5 is facing up. The light side of the ears facing upward and the ears pointing down. Now fixate with sewing needles and sew the ears onto part 5.

The right (nice looking side) of Part 6 is facing down and gets placed on top off the ears. Basically the ears get sandwiched in between part 5 and 6. The curved shape of part 6 and part 5 need to align and get attached. Now sew part 6 on following the seam you made before. (My mum made 2 at the same time).

Step 5: Sewing the Bunny’s Head
Attach Piece 4 – Sew one face piece 4 (Teil 4) from A to B onto the assembled pieces 5 and 6. For that place A on A (head backside) and B on B (forehead), right sides together, and sew to close the head. (You’ll find the letters marked on the pattern.)Press the seam flat.


Close the Head – Pin and sew the opposite side (the second face part Nr. 4) from A to C together also onto the assembled pieces 5 and 6 plust the second head part 4. Again just align A, B and C.

After this you should have the assembled head. Turn the Head Right Side Out – Flip the head inside out so the seams are hidden.

Features – Hand sew the eyes and nose onto the head.


Step 6: Making the Tail
Place the two tail pieces right sides together. Sew from E to D, leaving an opening.

Turn it right side out and stuff it with fiberfill.

Close the opening with the sewing machine or handsew with a few stiches.
Step 7: Attaching the Tail & Finishing the Back
Pin the tail to one back piece at the marked tail position and sew it on (right side out).

Place the second back piece on top (right sides together). Pin and sew along N to O to close the back.
Step 8: Assembling the Body
Attach the Arms – Sew the 4 arm parts onto the body at the designated attachment lines. Belly part and backparts. Pin Piece 2 (Teil 2) to Piece 3 (Teil 3) along the lines with F, then sew them together.


Attach the Feet – Pin Piece 7 x2 (foot) to lines K (belly part and attached sitting part – both have line K), for that place the feet onto part 2 ensuring the right sides are facing each other. Sew in place.


Sew the Body Together – Place the belly (Bauchteil) and back pieces (Rückenteil) including the arms together, pin them, and sew from G to H. (You sew the arms together in this step too.)


Then, sew from I to J to further secure the structure. In the opening between I and H, pin and sew the lighter-colored foot in place.
Your bunny is coming together! 🐰✨ If you’re sewing the cherry pit pillow version, insert the zipper between points P and Q of the bottom and O and P of the backpart. “Sitzteil” means bottom. This is the bottom of the bunny.


Attach the Head – Pin the head to the body, making sure C aligns with C and N aligns with N. Sew securely.
Turn & Fill – Turn the entire plush right side out through the zipper. Stuff the head, arms, and feet with polyfill. Fill the belly section with a cherry pit pillow for warmth. If you use a cherry pit pillow you can hand sew the head and arms closed with a piece of fabric.
Without you just leave a small hole where the zipper would go, stuff the bunny completely and sew it shut with handstitches.
Wrapping Up
Ok this was a long post. And trust me it took a long time to understand the process well enough to write the text. If you have any questions, write them down in the comments and I’ll reply quickly.
Here as promised your free Pattern. You are only allowed to use it for private or educational purposes. No selling allowed.
Latest Posts:
Easy DIY Father’s Day Card with Real Roses (From Toddlers)
This year, I wanted to create a super simple craft with my 1-year-old, Luca, to…
21+ Easy Father’s Day Coloring Pages Printable: (Free Download!)
Looking for a sweet, easy way for kids to show Dad some love this Father’s…
Easy Sticker Wall + Scribble Zone for Toddlers: Creative and Mess-Free
✨ A Simple Idea That Sparked Big Creativity The idea for this activity came from…
Simple and Fun Animal Walks for Toddlers: Boost Core Strength with Outdoor Gross Motor Play
I hated school sports. I am short, have bad eyesight and was always the last…
Arctic Ocean Sensory Bin DIY — The One Sensory Bin You Need to Try This Week
Creating an Arctic Ocean sensory bin has easily been one of our favorite indoor toddler…
9 Unique Last-Minute Mother’s Day Gift Ideas: What to Get My Mum for Mother’s Day
Mother’s Day has literally sneaked up on me — it’s in two days, and I’m…
