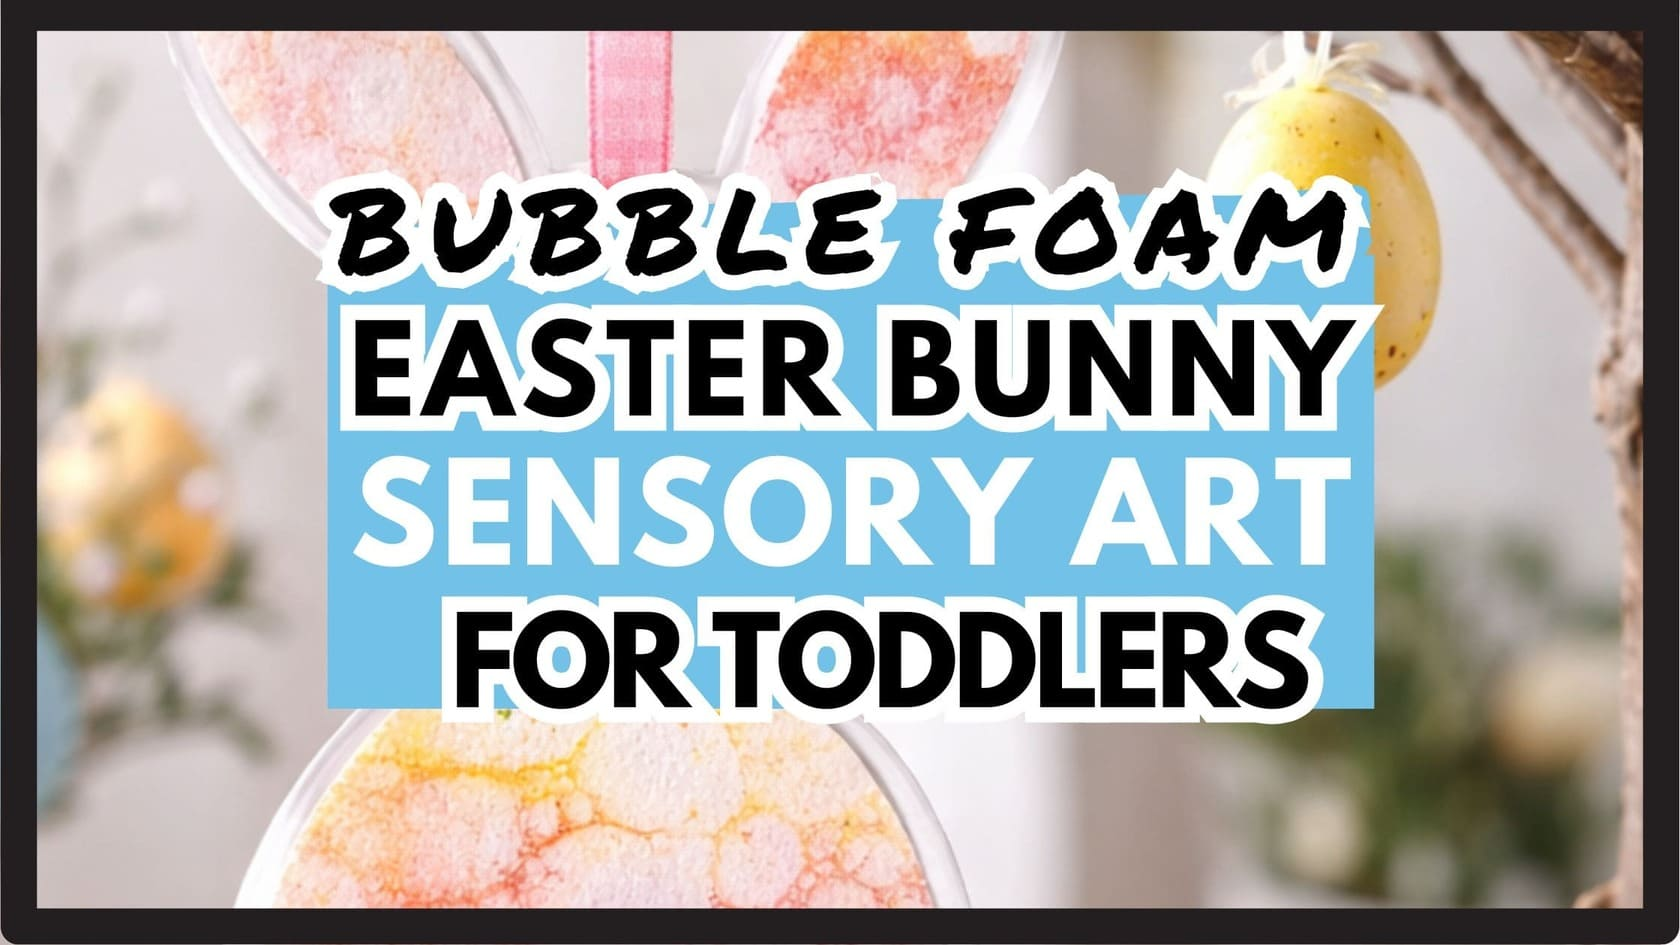
Bubble Painting Bunny Craft for Easter (With a 29-Month-Old)
We did this bubble painting bunny craft for Easter decor — but mostly because my 29-month-old son loves bubbles.
And I thought:
Bubbles + paint = guaranteed fun, right?
Well… yes.
But also… not immediately.
This was planned.
The flops? Not planned.
By the end, I was a little frustrated.
My son had definitely lost some patience too.
But I am SO happy we kept going — because the final two tries worked beautifully.
And the marble effect we got? Totally worth it.

- Bubble Painting Bunny Craft for Easter (With a 29-Month-Old)
- 🧴 What We Used (And Why I Didn’t Use Dish Soap)
- 1. Prep everything first
- 2. Paint the kitchen foil
- 3. Blow bubbles
- 4. Spread the foam on paper
- 5. Gently place the painted foil on top
- 6. Let it dry
- 7. Cut out the bunny & laminate
- First And Second Fail
- Thrid Fail
🧴 What We Used (And Why I Didn’t Use Dish Soap)
Because my son is still little (2.5 years), I didn’t feel comfortable using dish soap.
Instead, we used baby bath soap.
My thinking was: if he accidentally gets a tiny sip of diluted baby soap, that feels less horrible than dish soap.
- His cup had way less soap than mine.
- We used a see-through straw so I could clearly see he wasn’t sucking in the bubble water.
- I watched him like a hawk 😅
He didn’t swallow any.
But I’ll be honest — it had me a little worried the whole time.
So I personally recommend this more for older toddlers or kids, or whip the foam with a whisk instead if your child is too young for a straw. Not sure why I didn’t come up with that faster. Well in the end making the bubbles was what he loved the most.
🎨 Materials We Used
- Baby bath soap
- Water
- See-through straw
- Watercolors (we used these in the end)
- Laminating foil
- Laminator
- Thick paper
- Spoon
- Ribbon

I didn’t use a template — I drew the bunny and an egg by hand and cut them out later. But I’ll add a free printable bunny template at the end of the post to make it easier for you.
🛠️ How We Finally Made It Work
After three total failed experiments… here’s what finally worked for us:
1. Prep everything first
I had thick paper, kitchen foil, watercolors, spoon, baby soap mixture, and ribbon ready.
2. Paint the kitchen foil
Instead of coloring the foam, we painted regular kitchen foil with watercolors in the colors we wanted on the bunny.
We set the painted foil aside while we made the bubbles.

3. Blow bubbles
We used baby bath soap + water in a glass.
We blew bubbles using a see-through straw so I could clearly see he wasn’t sucking any water up. The water was slightly tinted from earlier attempts, so it was easy to notice what was happening. I wanted to blow the bubbles myself, but he really wanted to help.
I watched like a hawk 😅
If your toddler is younger, you can just whip the foam with a whisk instead — no straw necessary.
My son mostly just loved making bubbles.
Bubbles. And more bubbles.

4. Spread the foam on paper
Instead of blowing bubbles directly onto the paper like we tried before, we spooned the foam onto the paper. I also blew a lot of bubbles and let them drio down the side of the cup.
He was actually really good at spreading it gently with a spoon.
We switched roles:
- Sometimes he made the foam
- Sometimes I did
- Sometimes he spread it
- Sometimes I did
That made it feel like teamwork and he was sad when we did separate sheets.
5. Gently place the painted foil on top
Here’s the important part:
We did not press the foil into the foam.
We simply placed the painted kitchen foil gently on top of the foam and let the bubbles slowly burst on their own.
Watching the bubbles pop and reveal the color underneath was the exciting part.
The waiting? Very hard for a 29-month-old.
So while one paper was resting, we started another.
That helped a lot.

6. Let it dry
We let the paper dry completely.
While it dried, we made a few extra sheets so we could cut out different Easter shapes later — like eggs.
7. Cut out the bunny & laminate
Once everything was fully dry, I cut out the bunny shape (I had drawn it by hand on the back).
Then we laminated the finished piece to turn it into a sturdy Easter decoration.
Finally, we added ribbon and hung it up.
And it actually looked beautiful.

This method gave us the marble effect I wanted — without ruining the bubble texture like in our earlier attempts.
❌ The Failed Attempts (Because That’s Real Life)
First And Second Fail
First the paper was too thin. Than we blew bubbles directly onto the paper and tried painting only on the foam.
It actually worked when I did it.
But my toddler pressed down hard and colored the paper itself — so the bubble shapes disappeared. Just not the look I was going for.
Thrid Fail
I tried to color the water I used to make the bubbles. Some color went onto the paper, but it wasn’t strong enough.

🧠 What He Learned (Without Realizing)
This wasn’t independent play. This was together play.
And honestly? I love that more.
He learned:
- Patience (so much patience)
- That experiments don’t always work the first time
- That if you keep trying, you figure it out
- Turn-taking
- Sensory exploration
- Cause and effect (bubble pops = color appears)
I am super proud he stayed patient as long as he did.
And he loved it so much that he asked to do it again in the evening.
That’s when you know it was worth it.
💛 My Honest Thoughts
I never tried to make this Pinterest perfect. I just wanted that marble effect.
And eventually, we got it.
Not on the first try.
Not on the second.
Not on the third.
But we got there.
If you’re trying bubble painting with toddlers:
- Expect a bit off mess.
- Expect experimentation. And I hope learn from my mistakes.
- But also expect magic when it finally works.
❓ Is Bubble Painting Safe for Toddlers?
With supervision, yes — but use caution.
- Use baby soap instead of dish soap.
- Use minimal soap in their cup.
- Use a clear straw.
- Watch closely.
- Or whip foam with a whisk instead of blowing.
Personally, I’d recommend this more for older toddlers and kids.
🎀 Make It Easier – Free Bunny Template
I’ll include a free bunny template for you so you don’t have to draw one like I did.
And remember: you don’t need it to look perfect. You just need to enjoy the process together.

🔗 Related Posts for Toddlers
Since we made this for spring, you might also love:
🐞Easter Crafts To Try With Your Toddler – our Masterpost
🐄 Farm Animals Activities Masterpost – All our farm crafts in one place.
🐞 Bug Crafts for Toddlers Masterpost – More simple insect ideas.
🌷 Spring & Easter Crafts Masterpost – Seasonal crafts we’ve been loving lately.

 (1)")

")
💬 Your Turn
If you try this bubble foam painting bunny craft, tag me @mommyscrafttime on Instagram, Pinterest, TikTok or YouTube.
Use #mommyscrafttime so I can see it. I LOVE seeing your versions.
✨ Want more simple, actually-doable toddler activities.
Join my Skool community for support, ideas, and behind-the-scenes testing of crafts before they hit Pinterest. OR grab my seasonal craft magazine here.
Enjoyed This Post? Here’s How You Can Help!

If you enjoyed this post, please take 60 seconds to tell a friend.
Whether it’s a quick mention in a mom’s group, sharing on social media, or chatting about it with friends, every share makes a big difference.
I spend many hours crafting posts like this.
Every little helps, and I rely on people like yourself to help grow traffic!📌 Pin now, read later!
Latest Posts:

Easy Natural Dyed Easter Eggs with Toddlers — A German Tradition
Ever want an Easter activity that’s calm, meaningful, and actually teaches something real… not just…

This Finger Painting Easter Craft… Made My Toddler Go Wild
Sometimes toddlers wake up and choose chaos 😅 mine was in full cheeky mode that…

29 Month Old Toddler Activities That Actually Work at Home
Some days we craft… and some days we absolutely don’t 😅After lunch and in the…

🐰 Easy Recycled Magazine Bunny Craft (5 Min Easter Fun for Curious Toddlers)
Some days honestly… I just need something quick. My son is 2½ now (exactly 30…

Spring Tissue Paper Flower Craft for Toddlers (Easy & Calm)
We needed something calm… not messy… and something he could actually do himself. So after…

Easy Spring Bird Paper Craft (FREE Template for Kids)
This is a super easy structured craft ready to go for when my child is…

 (1)")


")
 (2)")