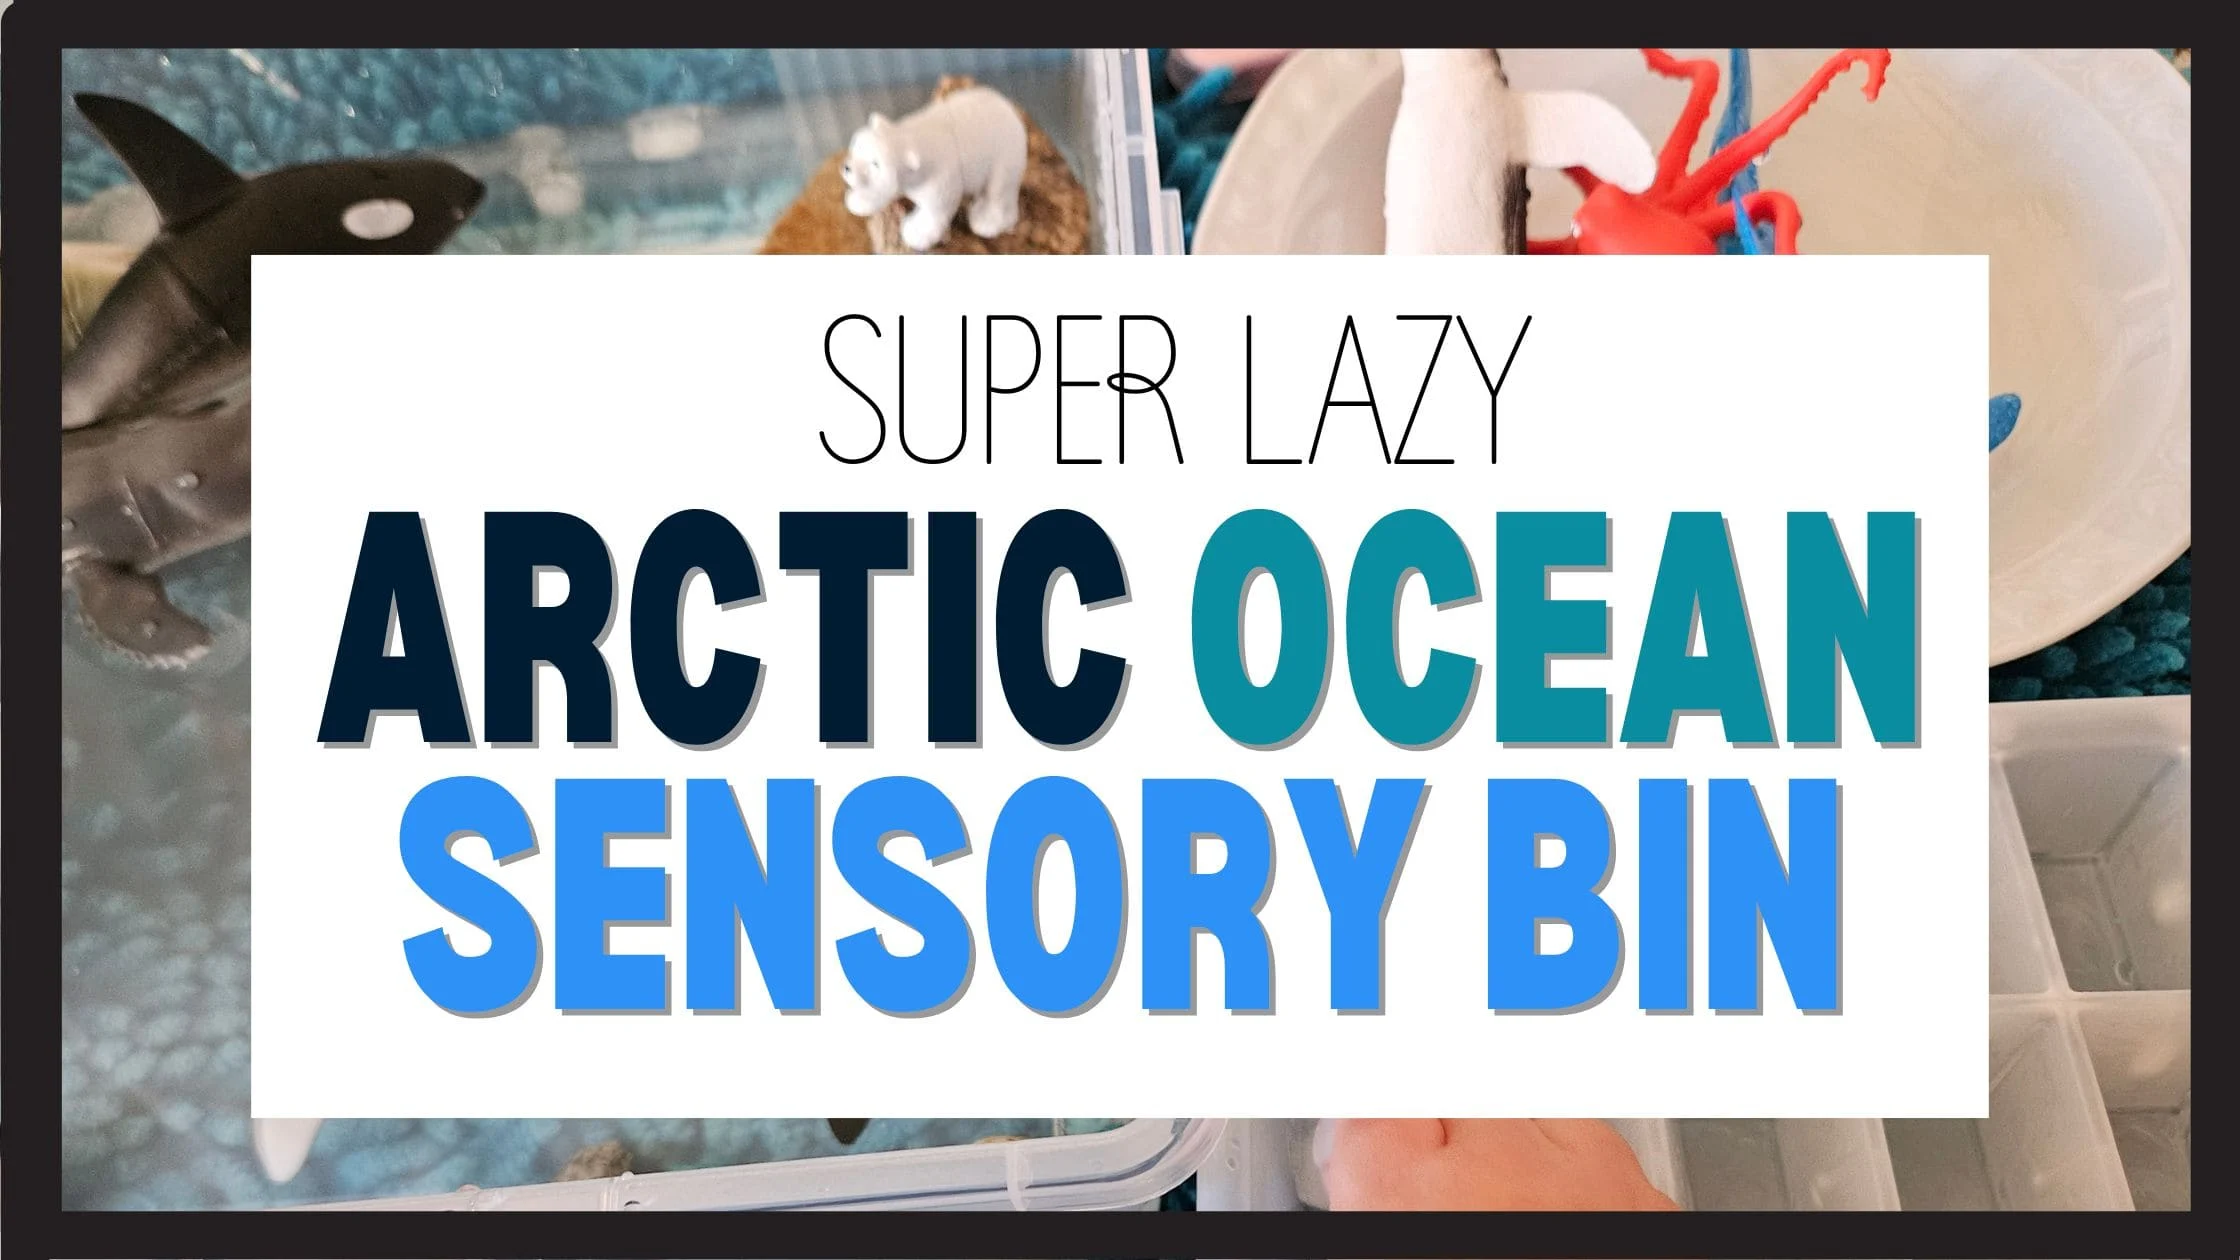
Creating an Arctic Ocean sensory bin has easily been one of our favorite indoor toddler activities this year. It’s simple, educational, cheap, and most importantly—it buys you a solid 20+ minutes of focused play (a luxury in mum life). I’m sharing exactly what we used, how we played, why cold sensory play matters.

Materials We Used for Our Arctic Sensory Bin
This post contains affiliate links, such as Amazon Associates links. If you make a purchase through these links, I may earn a small commission at no extra cost to you. Thank you for supporting my blog and helping me create more content like this!
You don’t need anything fancy or expensive for this activity. Most of what we used came from around the house or low-budget stores.

- Flat Plastic Bin – We got ours from TEDi, one of those wide and shallow ones. Any large under-the-bed (or smaller) storage box works too.
- Toy Arctic/ Ocean Animals – Think penguins, polar bears, narwhals, and whales. Ours were from a mixed animal tube set.
- Ice Blocks – I froze ice cubes with extra water in a plate the night before to make large, chunky icebergs. I also added regular ice cubes. The iceberg survived almost 2 hours.

- Stones – My toddler and I collected these together on a walk. We washed and dried them in advance. They add texture and weight.
- Blue-Tinted Water – I added a blue carpet underneath so no messy color.
- Tray Mat or Towel – To catch the inevitable mess and make cleanup easier.
Optional extras if you’re feeling creative: seaweed (cut-up green yarn or real seaweed), , arctic animal cards, or a thermometer for a quick science talk.
How We Played with the Arctic Ocean Sensory Bin
I set up the bin on my work table next to my son’s learning tower (we have exactly this one) with a towel underneath- This is what he did:

- Sensory exploration – He started by just touching the ice, and played with the water until I worried his hands would freeze.
- Animals – I introduced each animal with the name and he let them “swim”.
- Science moments – I pointed out how the ice melts, how it floats. I am not sure how much he understood lol, but he did listen a bit.

- Motor skill play – He moved animals around, stacked them on the ice cubes (tried to), and scooped water with a cup. Great for hand-eye coordination.
The best part? He stayed engaged for over 30 minutes and asked for more the next day, which is gold when your toddler wants to be entertained all day.
FAQs
Q: What age is this best for?
A: Ideal for toddlers 18 months+ with supervision. For younger toddlers still mouthing everything, skip small items.
Q: How long does it last?
A: Our ice lasted around 30–45 minutes before fully melting. You can add more cubes midway or do a second round later.
Q: Is this messy?
A: Somewhat. Use towels under the bin or place it in the tub or outside. Encourage drying hands or wearing sleeves you don’t mind getting wet.
Q: How do you store materials?
A: I keep everything in labeled ziplock bags in a plastic drawer. The animals get rinsed and dried. I toss used ice and dry out stones.
Q: Do I need themed toys for each bin?
A: No! You can use blocks, cups, scoops, or even kitchen utensils. But animal sets do add excitement and context to the theme.
Enjoyed This Post? Here’s How You Can Help!

If you enjoyed this post, please take 60 seconds to tell a friend.
Whether it’s a quick mention in a mom’s group, sharing on social media, or chatting about it with friends, every share makes a big difference.
I spend many hours crafting posts like this.
Every little helps and I rely on people like yourself to help grow traffic!📌 Pin now, read later!
Latest Posts:
What to Do With Rose Petals & Toddler? Try This Easy Rose Sensory Bin
A Simple Rose Sensory Bin for Refreshing, Calming Sensory Play Do you have some wilting…
15 Easy Summer Sensory Bins for Toddlers Who Need Something to Do
Summer’s here, and with it comes the ultimate parenting question: How do I keep my…
Super Dad Toilet Paper Roll Craft (Easy Father’s Day DIY!)
Need a quick, cute, and budget-friendly Father’s Day craft your toddler can actually finish?Say hello…
THE Cutest Toddler Scribble Father’s Day Cards (Simple & Sweet !)
Looking for a cute Father’s Day Card With Toddler Scribbles? This Father’s Day card is…
Easy DIY Father’s Day Card with Real Roses (From Toddlers)
This year, I wanted to create a super simple craft with my 1-year-old, Luca, to…
21+ Easy Father’s Day Coloring Pages Printable: (Free Download!)
Looking for a sweet, easy way for kids to show Dad some love this Father’s…
