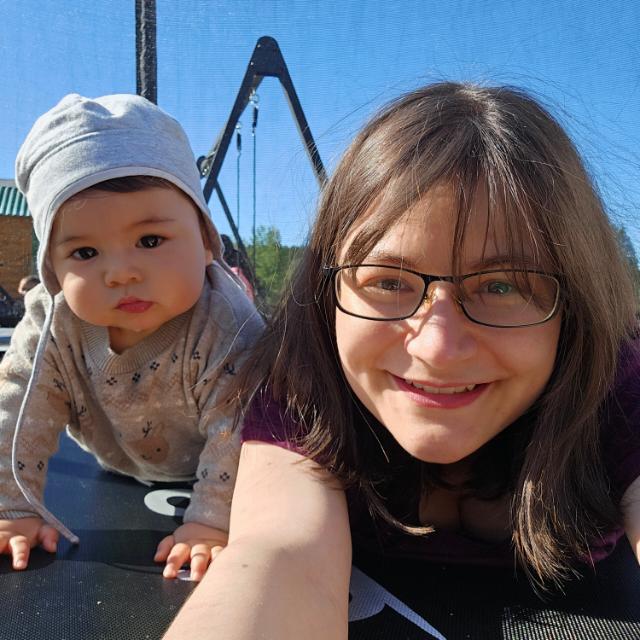
I thought it would be impossible to craft with my toddler. (He is 11 months).
Now I think I could have started sooner. Not so much the crafting with my baby, but crafting for my baby.
Let me explain…
Luca doesn’t sit still for more than 6 seconds. (I timed it!) So elaborate crafting projects are out of question. But when I create sensory crafts, he is all in on the testing. And he loves to hold the materials while I craft.
(He helps a little with crafting, too, mostly with un-crafting).
It’s more like mommy crafting and baby testing.
Actually he does sensory play even without me. Just today he found a vaseline his father left in reaching distance… Yeah it’s better I give him something to play with. So today I’ll show you 5+ easy sensory play craft ideas.
Not only does sensory play provide a wonderful experience, but it also helps him develop fine motor skills, and hand-eye coordination – whom am I kidding it keeps him busy and he has fun. Grab your aprons and let’s dive into the magical world of sensory play crafting with toddlers!
- Why Sensory Play?
- Sensory Play Craft Ideas For Toddlers
- When to Start Crafting with Toddlers?
- Pin it for Later
- Tips for Crafting with Toddlers
- What art materials should toddlers avoid?
- Safe Alternatives 🛡️
- Conclusion
- What To Read Next:
Why Sensory Play?
The short answer – it’s fun and educational for your toddler.
Sensory play is all about stimulating our toddlers’ senses: touch, smell, sight, sound, and taste.
According to early childhood experts, engaging these senses helps toddlers process information and develop important cognitive skills.

Moreover, sensory play can be incredibly soothing and is often used as a strategy to help manage anxiety and improve focus (Raising An Extraordinary Person) .
As for me sensory play is interesting for Luca. He gets bored easily. So I am happy he is testing and learning something new. At the end of the day, I feel like I’ve spent some quality time with my son, and that I am a good mum.
Sensory Play Craft Ideas For Toddlers
We started with sensory crafts. As in I craft and Luca tests the DIY sensory toys and activities. Let’s dive into some fun, quirky, and easy-to-do sensory play crafts to do with toddlers that will keep your little one engaged and entertained.
This post contains affiliate links, which means if you purchase through them, I may earn a small commission—at no extra cost to you! These funds go toward keeping my tea cup full (essential for surviving toddler chaos) and bringing you more fun ideas like these. Thank you for supporting this mama and her creative adventures! 💖
1. Magic Moon Sand (9 Months)
Moon sand is a fantastic sensory craft that combines the fun of molding and the magic of texture. Plus, it’s super easy to make!
Ingredients:
- ⭐ Flour (I used 1 cup for testing)
- ⭐ Vegetable oil, or affordable baby oil (3 Spoons). No need to buy expensive one.
- ⭐ Baby Bib (Next time I’d use a full body baby bib) I have one at home.
Note: Next time I’d definitelly use vegetable oil for an edible version! It took less than 10 seconds for him to taste test.

Instructions:
- Mix the flour and oil in a large bowl until it reaches a crumbly, sand-like consistency.
- Let your toddler explore the sand with their hands, cookie cutters, and small toys.


Tip: Add a few drops of food coloring (or berry and carrot juice) !

2. Sensory Bottles (Sensory play for toddlers 6 months and up)
My friend introduced me to easy sensory bottles. She did them in her mum-group and Luca absolutely loved throwing and spinning them around. They are perfect for visual and auditory stimulation, and they’re super easy to customize.
Curious how I made this one ➡️

Or you can check our Youtube Video here:
Materials:
- ⭐Empty plastic bottles
- (I like to take empty smoothie bottles, or ingwer shot bottles from Aldi, Daiso has some cheap alternatives if you are in Asia or I heard VOSS bottles are great)
- ⭐Water (optional) or Glycerin
- ⭐Glitter, beads, small toys, nuts, stones, whatever hits your fancy
- ⭐Food coloring (optional)
- ⭐Baby oil (optional)
Instructions:
- 1. Fill the bottle halfway with water, glycerin or baby oil.
- 2. Add glitter, beads, or small toys.
- 3. Top off with baby oil to slow down the movement of the items inside.
- 4. Seal the bottle tightly (you can use hot glue to ensure it stays closed).
Tip: Create themed bottles like an ocean bottle with blue water and sea creatures, or a galaxy bottle with dark blue water and silver stars. Here is my masterpost on Sensory Bottle Ideas.
Here are some of our posts on sensory bottles:
- Little-Known Secrets to Creating the Perfect Layered Sensory Bottle
- Want to Keep Kids Entertained? Try These Sensory Bottle Games!
- Crafting Magic: Where to Find the Best Sensory Bottle Materials Online and Offline
3. Rainbow Rice (1 .5 Years) A Sensory Play Idea
Colored rice is a sensory staple and can be used in various crafts and activities. Sadly Luca still likes to put it in his mouth so I’d recommend it for older toddlers.
Materials:
- White rice
- Vinegar
- Food coloring
- Ziplock bags
Instructions:
- Divide rice into several ziplock bags.
- Add a teaspoon of vinegar and a few drops of food coloring to each bag.
- Seal the bags and shake until the rice is evenly colored.
- Spread the rice out on a baking sheet to dry.
Tip: Use the rainbow rice to create sensory bins. Hide small toys in the rice and let your toddler find them using scoops and spoons.
Looking for low-mess options? Try these Mess-Free Sensory Play Ideas.
4. Edible Finger Paint (9 Months) – Sensory Play
Ingredients:
- 2 cups of cornstarch
- 1 cup of cold water
- 4.5 cups of boiling water
- Food coloring (or berry juice)
Instructions:
- Mix cornstarch and cold water in a large bowl.
- Gradually add boiling water while stirring continuously until it thickens.
- Divide the mixture into smaller bowls and add different food coloring to each.
Tip: Use this paint on large sheets of paper or in the bathtub for easy cleanup.
5. Sensory Path (9 Months)
A sensory path is a great way to get those little feet moving while exploring different textures. You can try this once your baby starts walking with your help .
Here in Korea you can actually find sensory paths in parks. No crafting necessary.
Materials:
- Foam mats or large pieces of cardboard
- Various materials (bubble wrap, felt, soft fabric, stones etc.)
- Glue
Instructions:
- Cut the foam mats or cardboard into squares.
- Glue different materials onto each square.
- Lay them out on the floor and let your toddler walk, crawl, or roll over them.
Tip: Create a themed path like a jungle trail with leaves and animal prints or a road with different textured “pavements.”

6. Sensory Bin Ideas for Toddlers (12 months and up)
Sensory bins are a fantastic way to engage young minds with hands-on exploration, and there are endless themes to inspire curiosity and play. Her is a fall inspired sensory bin.

Materials Needed:
- Leaves
- Mini pumpkins (plastic or foam)
- Small pine cones and bark
- Maroons (real or plastic)
- Small scoops and cups for pouring and filling (or like me a paper back to pack and unpack)
Instructions:
- Spread the leaves as the base in a bin.
- Add the mini pumpkins, pine cones, and acorns.
- Place scoops and cups around for your toddler to dig, pour, and explore textures.
This sensory bin captures the essence of fall, letting toddlers experience the season’s colors and textures while working on fine motor skills. Swap items to make it unique to what you have at home!
Keep your crafting area tidy with these tips on Storing Sensory Materials.
TIP: No sticks, my son tried eating it and I worried the whole time he’d poke his eyes out.
Here are some of our sensory bin collections:
- “Endless Fun with 25 Sensory Bin Ideas“
- “Sensory Bins for Little Hands” – If you have a baby, this collection of sensory bins for under 1 is perfect for introducing them to sensory exploration safely.
- “Introduce your little one to Farmlife!” – Let your little one dive into farm life with this Farm-Themed Sensory Bin, complete with textured “mud,” “hay,” and more.
- “Buzzing Around with Bug Sensory Bins” – For kids who love creepy crawlies, Bug Sensory Bins make exploring bugs safe and fun!
When to Start Crafting with Toddlers?
The golden question: “When is the right time to start crafting with my toddler?” The answer is, it depends. Luca, at 11 months doesn’t have the patience for it yet. He did use a pen to scribble on paper – for like 3 seconds – after that, he started eating the pen.
I think as soon as your little chipmunk shows curiosity! My nephew started around 2 years. Online I found mommys who started simple crafts at 1. I think at that age you can introduce simple, supervised crafts. However, every child is different, and like I said we aren’t there yet. so watch for cues that your toddler is ready—like reaching for items, trying to mimic your actions, or showing interest in different textures and colors.

Pin it for Later
If you enjoyed this post, please take 60 seconds to tell a friend. It would make me super happy 🙂
Whether it’s a quick mention in a mom’s group, sharing on social media, or chatting about it with friends, every share makes a big difference.
I spend many hours crafting posts like this.
Every little helps and I rely on people like yourself to help grow traffic!📌 Pin now, read later!
Tips for Crafting with Toddlers
Keep it Simple: Toddlers have short attention spans, so simple, quick activities are best.
Supervise Closely: Always supervise your toddler during crafting to ensure they’re safe, especially with small items.
Embrace the Mess: Crafting can get messy, but that’s part of the fun. Lay down a plastic tablecloth or craft outside if the weather permits.
Celebrate Creativity: There’s no right or wrong in toddler crafts. Let them explore and create freely.
Use Non-Toxic Materials: Ensure all materials are safe and non-toxic since toddlers tend to explore with their mouths.
What art materials should toddlers avoid?
When engaging in arts and crafts with toddlers, it’s crucial to ensure that the materials used are safe and appropriate for their age. Certain art supplies can pose risks due to toxicity, choking hazards, or other dangers. Here are some art materials that toddlers should avoid:
Toxic Art Supplies ☠️
- Oil Paints: Often contain toxic substances and heavy metals harmful if ingested or inhaled.
- Permanent Markers: The fumes can be harmful, and the ink can be toxic if ingested.
- Acrylic Paints: Some contain toxic chemicals not safe for young children who might put their hands or supplies in their mouths.
- Solvent-Based Products: Paint thinners, turpentine, and other solvents emit harmful fumes and are toxic if ingested.
Choking Hazards 🚨
- Small Beads: Easily swallowed or inhaled, posing serious choking hazards.
- Small Parts in Craft Kits: Many craft kits come with small components not suitable for toddlers.
- Buttons: Popular in crafting but dangerous if toddlers put them in their mouths.
Other Hazardous Materials ⚠️
- Sharp Tools: Scissors, craft knives, and other sharp objects should be avoided or used only with close supervision.
- Glue Guns: Hot glue guns can cause burns and should be avoided for toddler crafts.
- Glitter: Can cause eye irritation and is difficult to clean up if ingested or inhaled.
Safe Alternatives 🛡️
- Non-Toxic Water-Based Paints: Look for paints specifically labeled as non-toxic and safe for children.
- Washable Markers and Crayons: Designed to be safe if a child puts them in their mouth and are easy to clean up.
- Safety Scissors: Designed for young children, these scissors have blunt tips and are easier for small hands to use safely.
Conclusion
Crafting with toddlers, especially with sensory play, is a wonderful way to bond and help your little one develop essential skills. From the magical textures of moon sand to the colorful wonders of rainbow rice, these activities are sure to spark joy and curiosity in your toddler. So, roll up your sleeves, embrace the mess, and dive into the enchanting world of sensory play crafting!
Remember, the journey is just as important as the finished craft. Enjoy every squishy, sticky, glittery moment!
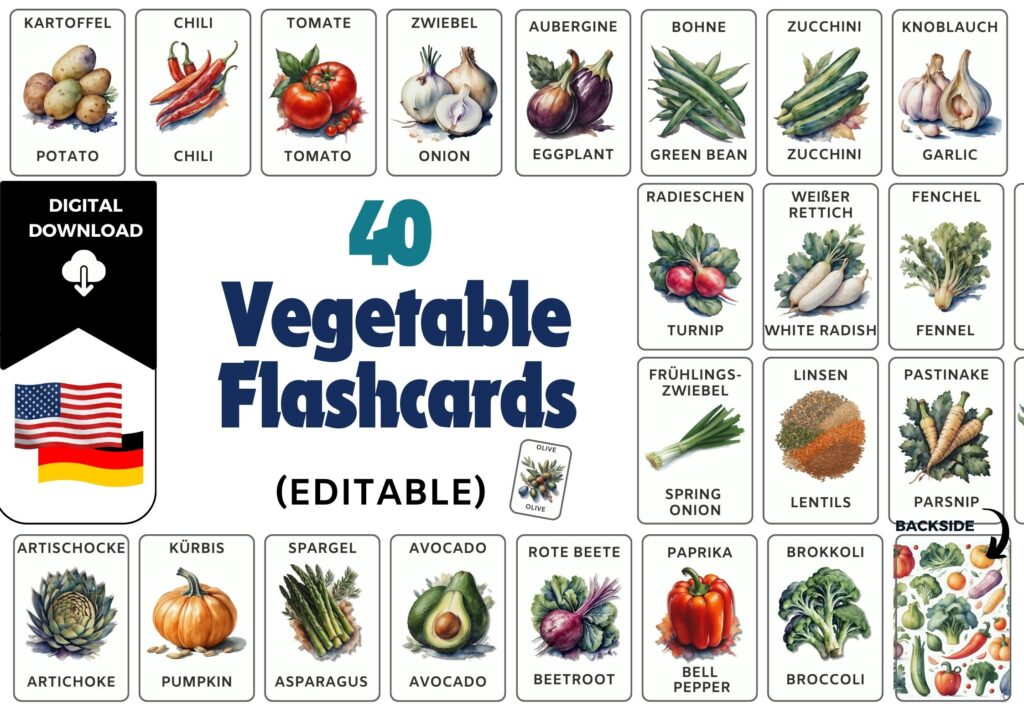
PS.: Enhance you might want to enhance sensory play with these Farm Animal Flashcards.


Leave a Reply